Virtualizing macOS Monterey
Looking to virtualize the recently released macOS Monterey? Then this is the guide for you, read on!
Contents
Before you start
There are a few requirements before we get started. You will need:
- An Intel based Apple computer running a recent version of macOS like Catalina or Big Sur that is capable of running, but has not yet been upgraded to Monterey.
- An Apple computer running a recent of VMware ESXi. Running macOS in a virtual machine on Apple hardware is the only way to adhere to the user agreement. For the purposes of this guide I'll be using a 2013 Mac Pro running VMware ESXi 6.5.0 Update 2 (Build 8294253)
- An evaluation copy of VMware Workstation Pro for Windows (v15 or later)
- At least 28GB of free space on your mac
Getting the Monterey installer
- On your mac that has not yet been upgraded to Monterey open System Preferences then navigate to Software Update. You should be prompted to download or upgrade to Monterey.
- After the download is complete simply close the installer. Do not start the installation process!
- The installer is now located in Applications as
/Applications/Install macOS Monterey.app


Creating a bootable disc image
Just like Big Sur the process of creating install media is a bit different than previous macOS releases.
- Create a disc image to house the installer. For macOS Monterey 12.0.1 the image must be at least 13685 MB in size.
hdiutil create -o monterey.dmg -size 13685m -volname macOSMonterey -layout SPUD -fs HFS+J
- Attach the volume
hdiutil attach monterey.dmg -noverify -mountpoint /Volumes/macOSMonterey
- Use the createinstallmedia tool inside the Monterey installer to make the disc image into a bootable macOS installer. This process will take a couple minutes.
sudo /Applications/Install\ macOS\ Monterey.app/Contents/Resources/createinstallmedia --volume /Volumes/macOSMonterey --nointeraction
- Detach the volume. Note that the volume name and mount point changed during the process.
hdiutil detach /Volumes/Install\ macOS\ Monterey
- Convert the resulting dmg file to a cdr
hdiutil convert monterey.dmg -format UDTO -o monterey.cdr
- Finally, rename the cdr to iso.
mv monterey.cdr monterey.iso- The dmg image can now be used to create a bootable USB stick or simply deleted.
- Upload your new bootable ISO image to your datastore in VMware ESXi
Creating the Virtual Machine
- In the ESXi console click Create /Register VM
- Select Create a new virtual machine then click Next
- Select the highest Compatibility possible. In my case ESXi 6.5 virtual machine
- Select Mac OS under Guest OS Family
- Select the highest supported macOS version possible. In my case Apple Mac OS X 10.12 (64-bit)
- Enter a name for the virtual machine then click Next
- Select the datastore to use for virtual machine storage then click Next
- Make adjustments to the CPU count but be sure to only use two sockets. E.g to have 4 CPU cores you can either choose 4 CPU and 4 Cores per Socket or 2 CPU and 2 cores per socket.
- For Memory 2GB is the minimum recommended. The more the better though!
- For the Hard Disk 40GB is a good start, adjust to fit your needs.
- Select the appropriate Network
- Do not change any other settings at this point, they will be changed later. Click Next then Finish
- In the list of virtual machines select your new VM and click Edit
- Expand the CD/DVD Drive' section, change the type to Datastore ISO file, select your Monterey ISO file, click Select, then check Connect at power on
- Under Video Card change the type to Specify custom settings then change Total video memory to 128
- Click Save


Don't power on your new virtual machine just yet! There is one more step before you can install macOS.
Fixing EFI/APFS support
The EFI firmware included in ESXi 6.x does not support APFS so it must be replaced.
This process is not complex but I have not written a guide for it yet. For now please follow the instructions located here: https://ericfromcanada.github.io/output/2019/macos-catalina-vmware-esxi-6.html
Save the resulting file as efi64.rom
Once you have your new EFI firmware file the VM must be told to use it.
- Upload the
efi64.romfile to your datastore in the same folder as the virtual machine's files then click Close - Select your virtual machine from the list then click Edit
- Click VM Options then scroll down and expand the Advanced section. Scroll down further to Configuration Parameters and click Edit Configuration
- At the top click Ad parameter
- Double click on the new row and clear the text that says Click to edit key. Enter
efi64.filenamein its place. - Double click on Click to edit value and clear the text. Enter
efi64.rom - Click OK to close the window, then click Save to complete the configuration.


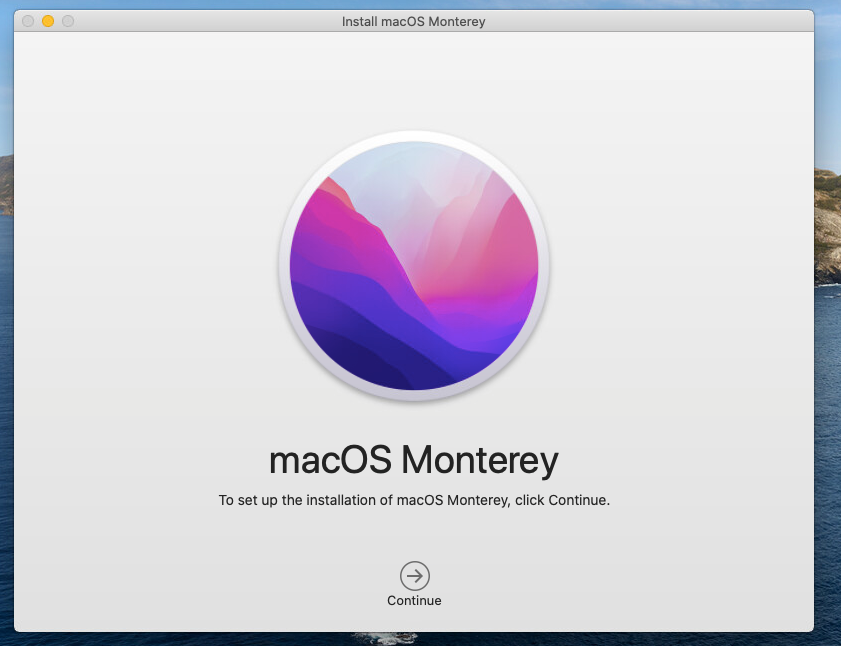
Installing macOS Monterey
- Power on your virtual machine and the macOS Monterey installer should start
- Choose a language then click the next arrow
- From the recovery menu select Disk Utility then click Continue
- In the left-most pane click VMware Virtual SATA Hard Drive Media
- Near the top of the screen click Erase
- Enter a name like 'macOS' then click Erase. The other options can be left as is.
- Within a few seconds the process will be completed. Click Done

- Quit Disk Utility by clicking Disk Utility on top bar, then clicking Quit Disk utility
- Back at the Recovery menu select Install macOS Monterey then click Continue
- Continue through the rest of the installer as normal. This process may take a significant amount of time depending on the mac hardware used to run VMware ESXi as well as the storage media used for the datastore.
- During installation uncheck the options for Siri and Location Services. These services may not function correctly on virtualized hardware.
- Note: During the first boot up after installation the virtual machine will reboot several times very quickly in what appears to be a boot loop. This is normal and it will recover on its own.
- Enjoy virtualized macOS Monterey!


Post installation
After installation of macOS it is a good idea to install VMware Tools to enable graceful shutdown of the virtual machine but unfortunately VMware ESXi does not include the macOS guest OS tools like it does for other operating systems.
Download the VMware Tools packages for macOS zip file from https://customerconnect.vmware.com/downloads/details?downloadGroup=VMTOOLS1135&productId=1073&rPId=74478 (requires a free account)
Decompress the downloaded zip file and upload darwin.iso to your datastore then attach the ISO to the virtual machine.
Install VMware Tools with the default options and be sure to allow the installation of the required system extensions then reboot.
Congratulations! You are now ready to use macOS Monterey as a test machine, build machine, or any other use that isn't graphics heavy.