Virtualizing macOS Monterey: Difference between revisions
From Doge Microsystems
Created page with "Looking to virtualize the recently released macOS Monterey? Then this is the guide for you, read on! === Before you start === There are a few requirements before we get start..." |
No edit summary |
||
| Line 31: | Line 31: | ||
#: The '''dmg''' image can now be used to create a bootable USB stick or simply deleted. | #: The '''dmg''' image can now be used to create a bootable USB stick or simply deleted. | ||
# Upload your new bootable ISO image to your '''datastore''' in VMware ESXi | # Upload your new bootable ISO image to your '''datastore''' in VMware ESXi | ||
=== Creating the Virtual Machine === | |||
# In the ESXi console click '''Create /Register VM''' | |||
# Select '''Create a new virtual machine''' then click '''Next''' | |||
# Select the highest '''Compatibility''' possible. In my case '''ESXi 6.5 virtual machine''' | |||
# Select '''Mac OS''' under '''Guest OS Family''' | |||
# Select the highest supported macOS version possible. In my case '''Apple Mac OS X 10.12 (64-bit)''' | |||
# Enter a name for the virtual machine then click '''Next''' | |||
#: [[File:Monterey_guide_3.png]] | |||
# Select the '''datastore''' to use for virtual machine storage then click '''Next''' | |||
#: [[File:Monterey_guide_4.png]] | |||
# Make adjustments to the CPU count but be sure to only use two sockets. E.g to have 4 CPU cores you can either choose 4 '''CPU''' and 4 '''Cores per Socket''' or 2 CPU and 2 cores per socket. | |||
#: [[File:Monterey_guide_5.png]] | |||
# For '''Memory''' 2GB is the minimum recommended. The more the better though! | |||
# For the '''Hard Disk''' 40GB is a good start, adjust to fit your needs. | |||
# Select the appropriate '''Network''' | |||
# Do not change any other settings at this point, they will be changed later. Click '''Next''' then '''Finish''' | |||
#: [[File:Monterey_guide_6.png]] | |||
#: [[File:Monterey_guide_7.png]] | |||
# Select your new VM and click '''Edit''' | |||
# Expand the '''CD/DVD Drive''' section, change the type to '''Datastore ISO file'', select your Monterey ISO file, click '''Select''', then check '''Connect at power on''' | |||
# Under '''Video Card''' change the type to '''Specify custom settings''' then change '''Total video memory''' to 128 | |||
# Click '''Save''' | |||
Don't power on your new virtual machine just yet! There is one more step before you can install macOS. | |||
Revision as of 23:44, 26 October 2021
Looking to virtualize the recently released macOS Monterey? Then this is the guide for you, read on!
Before you start
There are a few requirements before we get started. You will need:
- An Intel based Apple computer running a recent version of macOS like Catalina or Big Sur that is capable of running, but has not yet been upgraded to Monterey.
- An Apple computer running a recent of VMware ESXi. Running macOS in a virtual machine on Apple hardware is the only way to adhere to the user agreement. For the purposes of this guide I'll be using a 2013 Mac Pro running VMware ESXi 6.5.0 Update 2 (Build 8294253)
- An evaluation copy of VMware Workstation Pro for Windows(v15 or later)
- At least 28GB of free space on your mac
Getting the Monterey installer
- On your mac that has not yet been upgraded to Monterey open System Preferences then navigate to Software Update. You should be prompted to download or upgrade to Monterey.
- After the download is complete simply close the installer. Do not start the installation process!
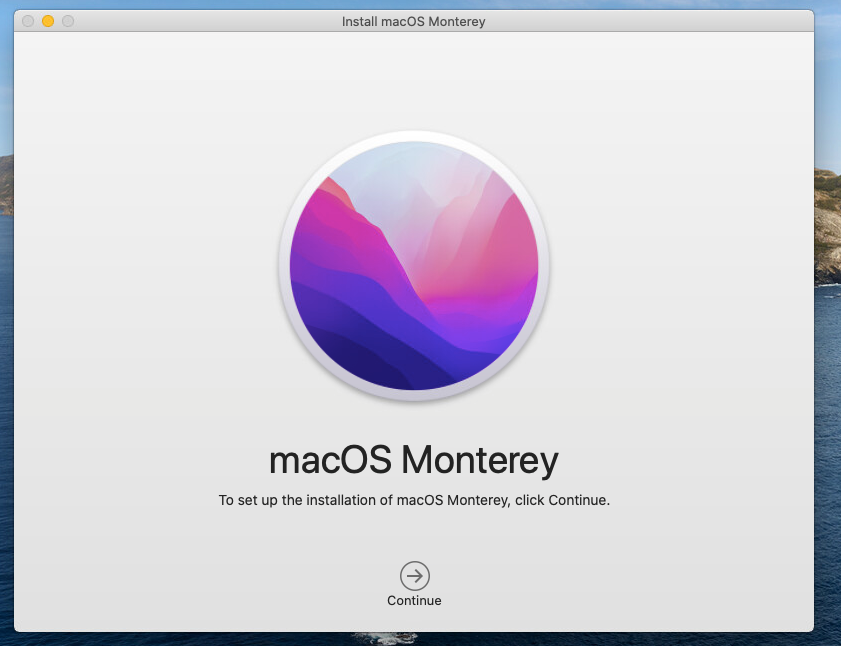
- The installer is now located in Applications as
/Applications/Install macOS Monterey.app


Creating a bootable disc image
Just like Big Sur the process of creating install media is a bit different than previous macOS releases.
- Create a disc image to house the installer. For macOS Monterey 12.0.1 the image must be at least 13685 MB in size.
hdiutil create -o monterey.dmg -size 13685m -volname macOSMonterey -layout SPUD -fs HFS+J
- Attach the volume
hdiutil attach monterey.dmg -noverify -mountpoint /Volumes/macOSMonterey
- Use the createinstallmedia tool inside the Monterey installer to make the disc image into a bootable macOS installer. This process will take a couple minutes.
sudo /Applications/Install\ macOS\ Monterey.app/Contents/Resources/createinstallmedia --volume /Volumes/macOSMonterey --nointeraction
- Detach the volume. Note that the volume name and mount point changed during the process.
hdiutil detach /Volumes/Install\ macOS\ Monterey
- Convert the resulting dmg file to a cdr
hdiutil convert monterey.dmg -format UDTO -o monterey.cdr
- Finally, rename the cdr to iso.
mv monterey.cdr monterey.iso- The dmg image can now be used to create a bootable USB stick or simply deleted.
- Upload your new bootable ISO image to your datastore in VMware ESXi
Creating the Virtual Machine
- In the ESXi console click Create /Register VM
- Select Create a new virtual machine then click Next
- Select the highest Compatibility possible. In my case ESXi 6.5 virtual machine
- Select Mac OS under Guest OS Family
- Select the highest supported macOS version possible. In my case Apple Mac OS X 10.12 (64-bit)
- Enter a name for the virtual machine then click Next
- Select the datastore to use for virtual machine storage then click Next
- Make adjustments to the CPU count but be sure to only use two sockets. E.g to have 4 CPU cores you can either choose 4 CPU and 4 Cores per Socket or 2 CPU and 2 cores per socket.
- For Memory 2GB is the minimum recommended. The more the better though!
- For the Hard Disk 40GB is a good start, adjust to fit your needs.
- Select the appropriate Network
- Do not change any other settings at this point, they will be changed later. Click Next then Finish
- Select your new VM and click Edit
- Expand the CD/DVD Drive' section, change the type to Datastore ISO file, select your Monterey ISO file, click Select, then check Connect at power on
- Under Video Card change the type to Specify custom settings then change Total video memory to 128
- Click Save


Don't power on your new virtual machine just yet! There is one more step before you can install macOS.