Difference between revisions of "VMware ESXi on Mac Pro 3,1"
Jump to navigation
Jump to search
| Line 11: | Line 11: | ||
== Installing ESXi == | == Installing ESXi == | ||
| − | # Power on your Mac Pro and hold '''Option''' until the boot device selection appears | + | # Power on your Mac Pro and hold '''Option''' until the boot device selection appears. |
| − | # Insert the CD/DVD/USB stick for ESXi | + | # Insert the CD/DVD/USB stick for ESXi. |
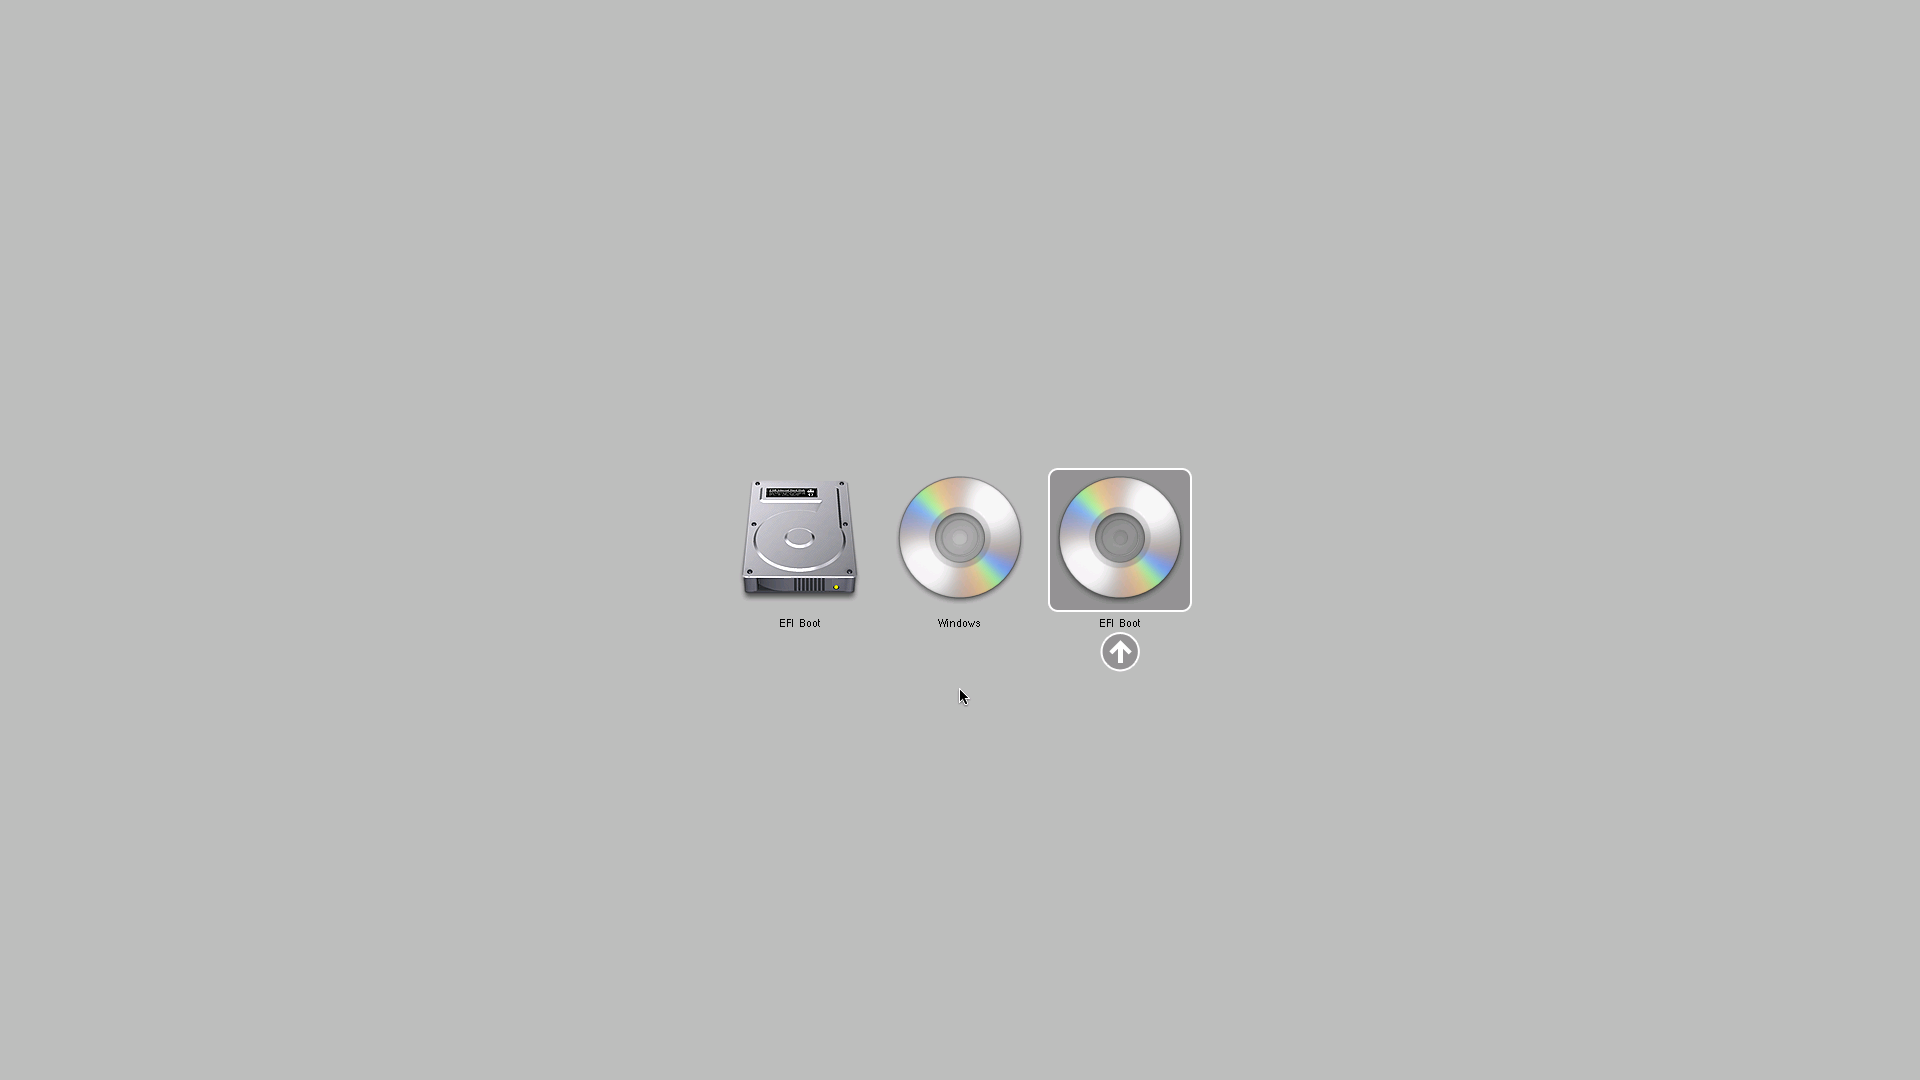
# Select '''EFI Boot''' on the right using the arrow keys or mouse and press '''return''' | # Select '''EFI Boot''' on the right using the arrow keys or mouse and press '''return''' | ||
#: [[File:Macpro_31_vmware_1.png]] | #: [[File:Macpro_31_vmware_1.png]] | ||
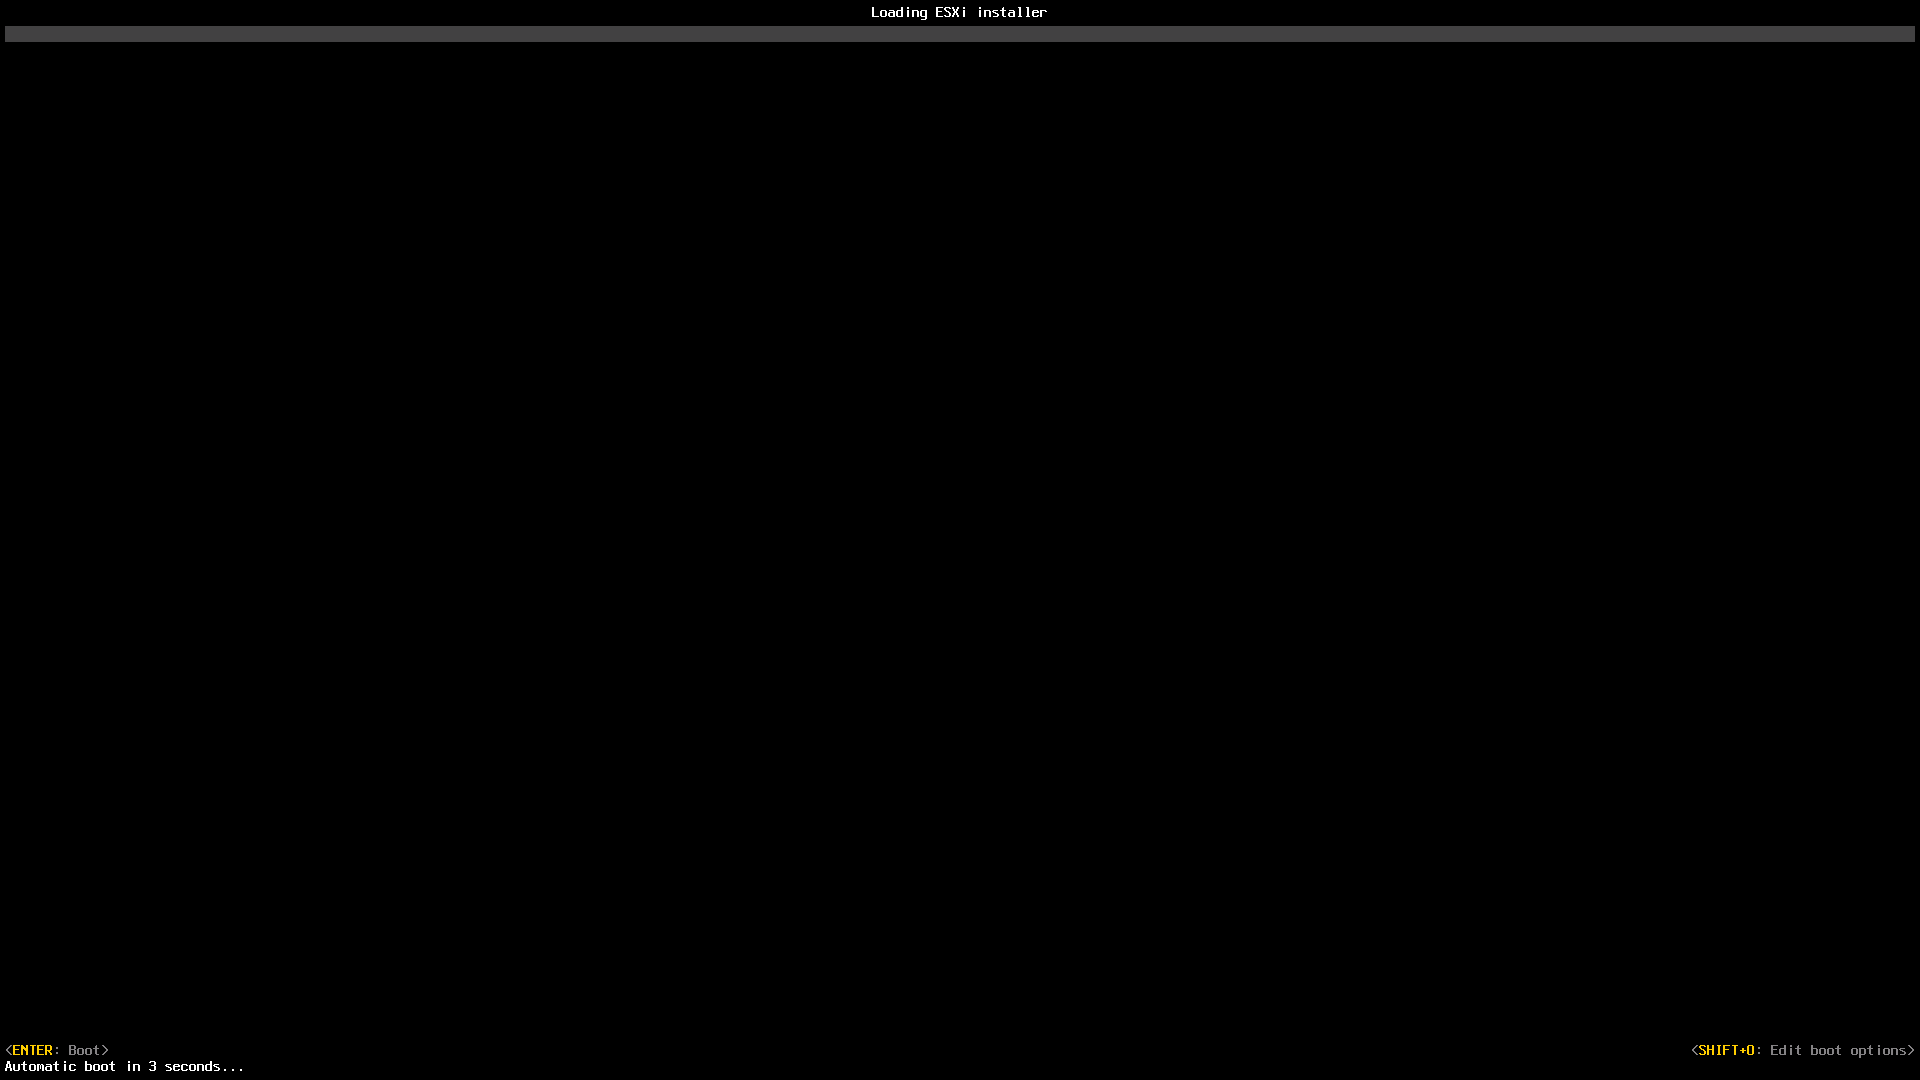
| − | # The ESXI Installer will now start | + | # The ESXI Installer will now start. |
#: [[File:Macpro_31_vmware_2.png]] | #: [[File:Macpro_31_vmware_2.png]] | ||
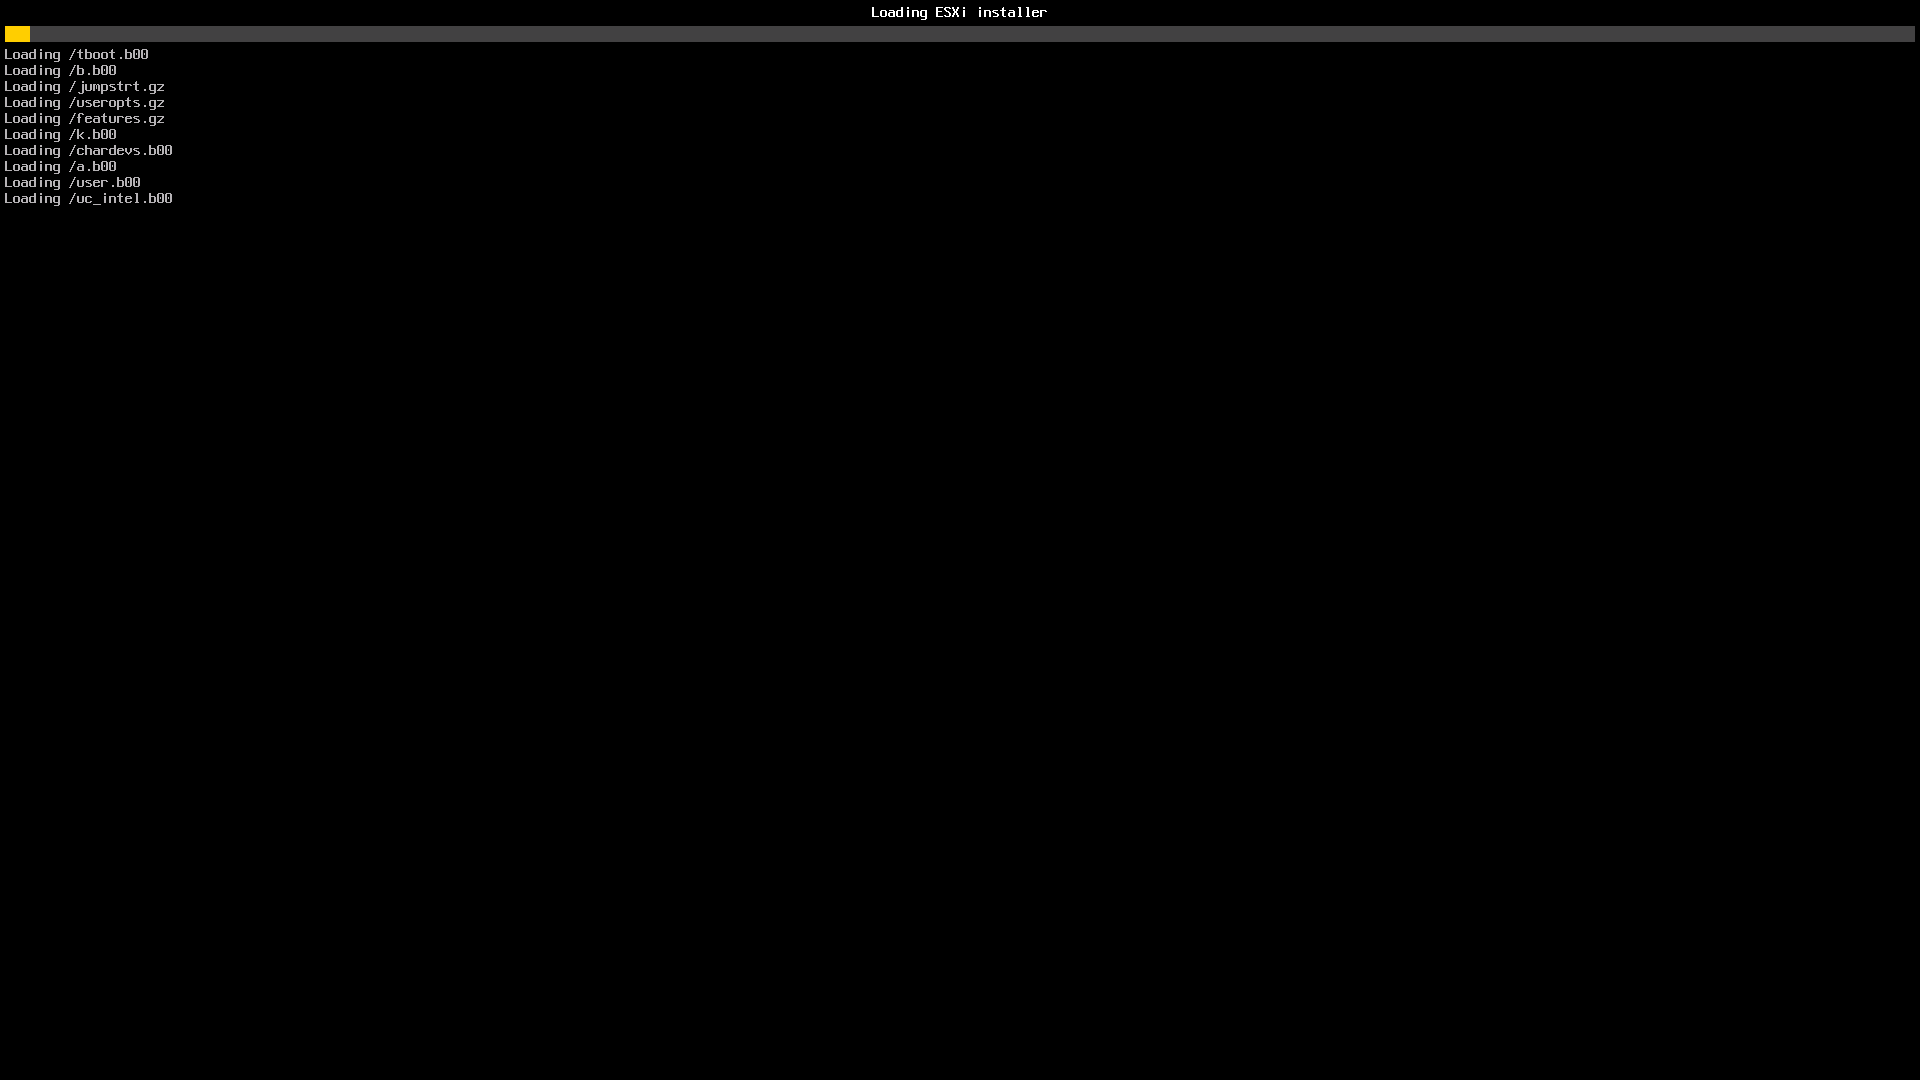
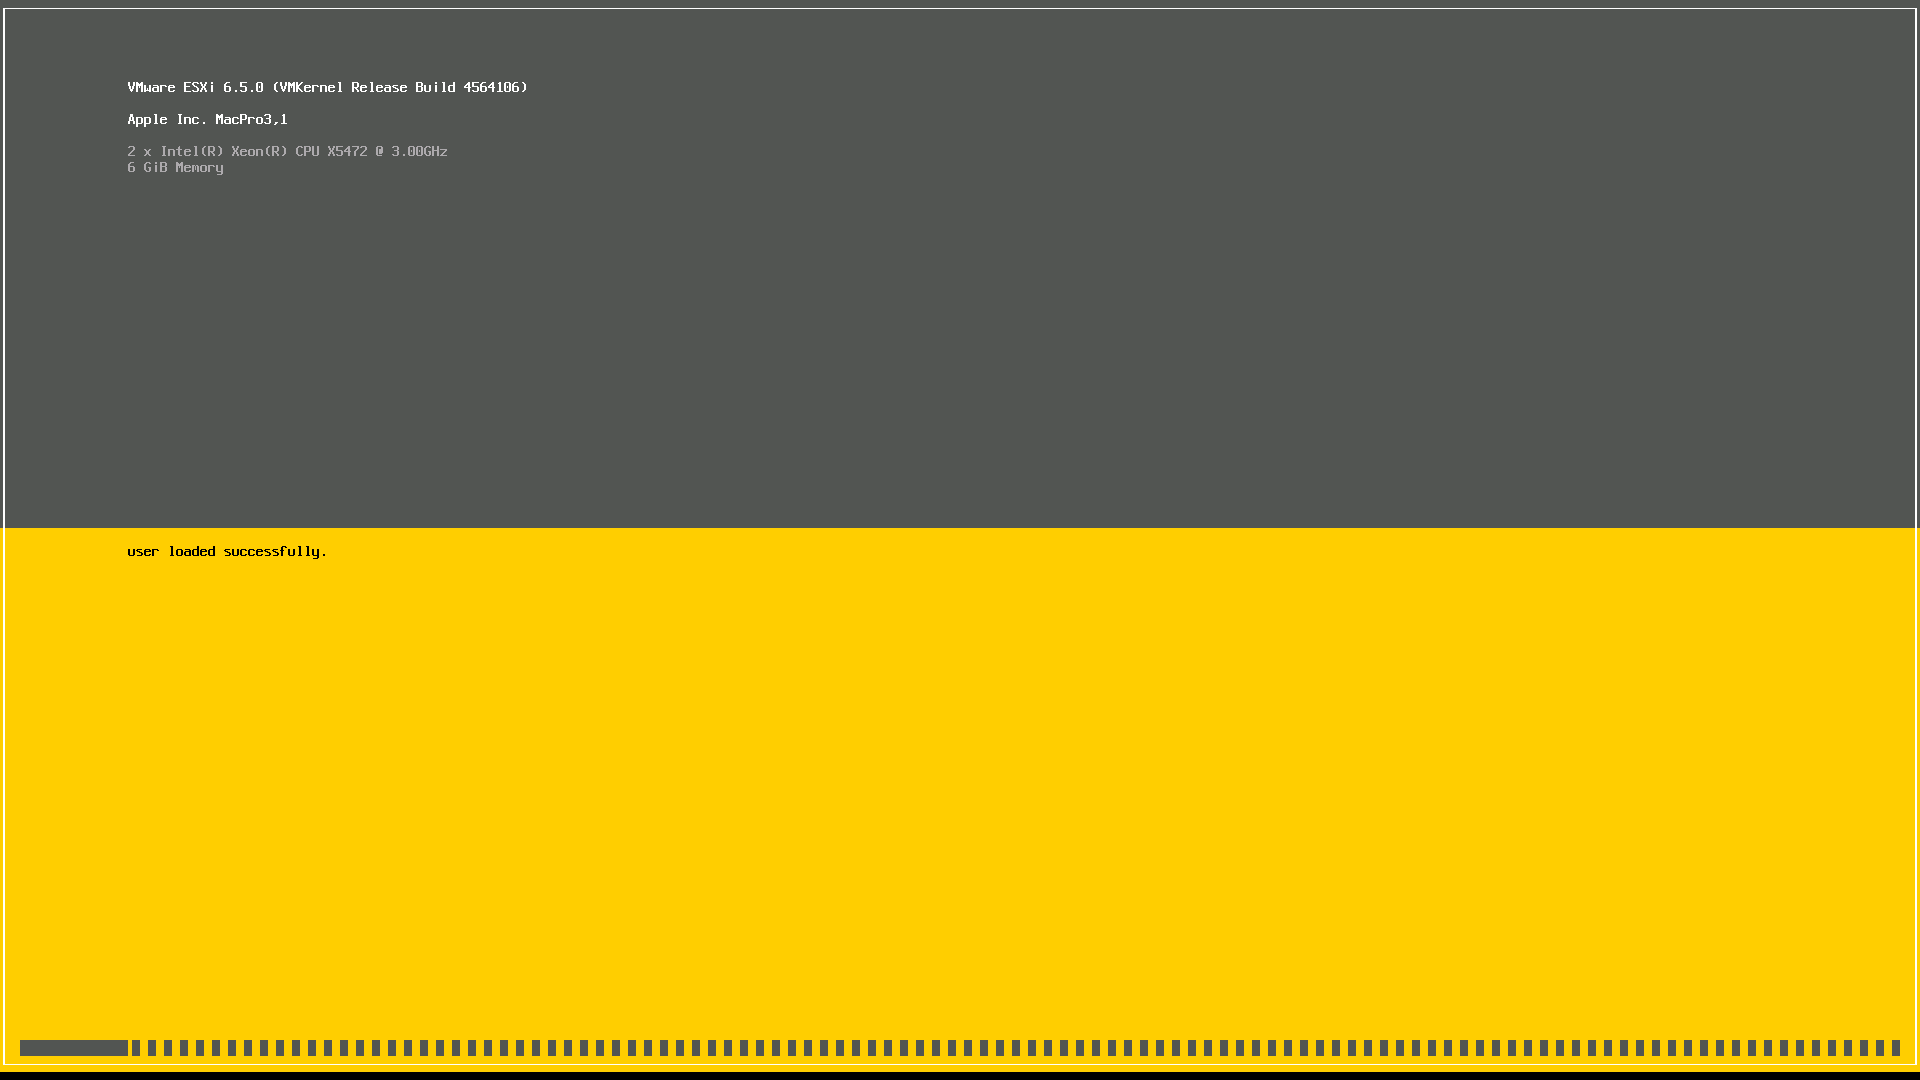
| − | # The installer will take 5-10 minutes to fully load | + | # The installer will take 5-10 minutes to fully load. |
#: [[File:Macpro_31_vmware_3.png]] | #: [[File:Macpro_31_vmware_3.png]] | ||
#: [[File:Macpro_31_vmware_4.png]] | #: [[File:Macpro_31_vmware_4.png]] | ||
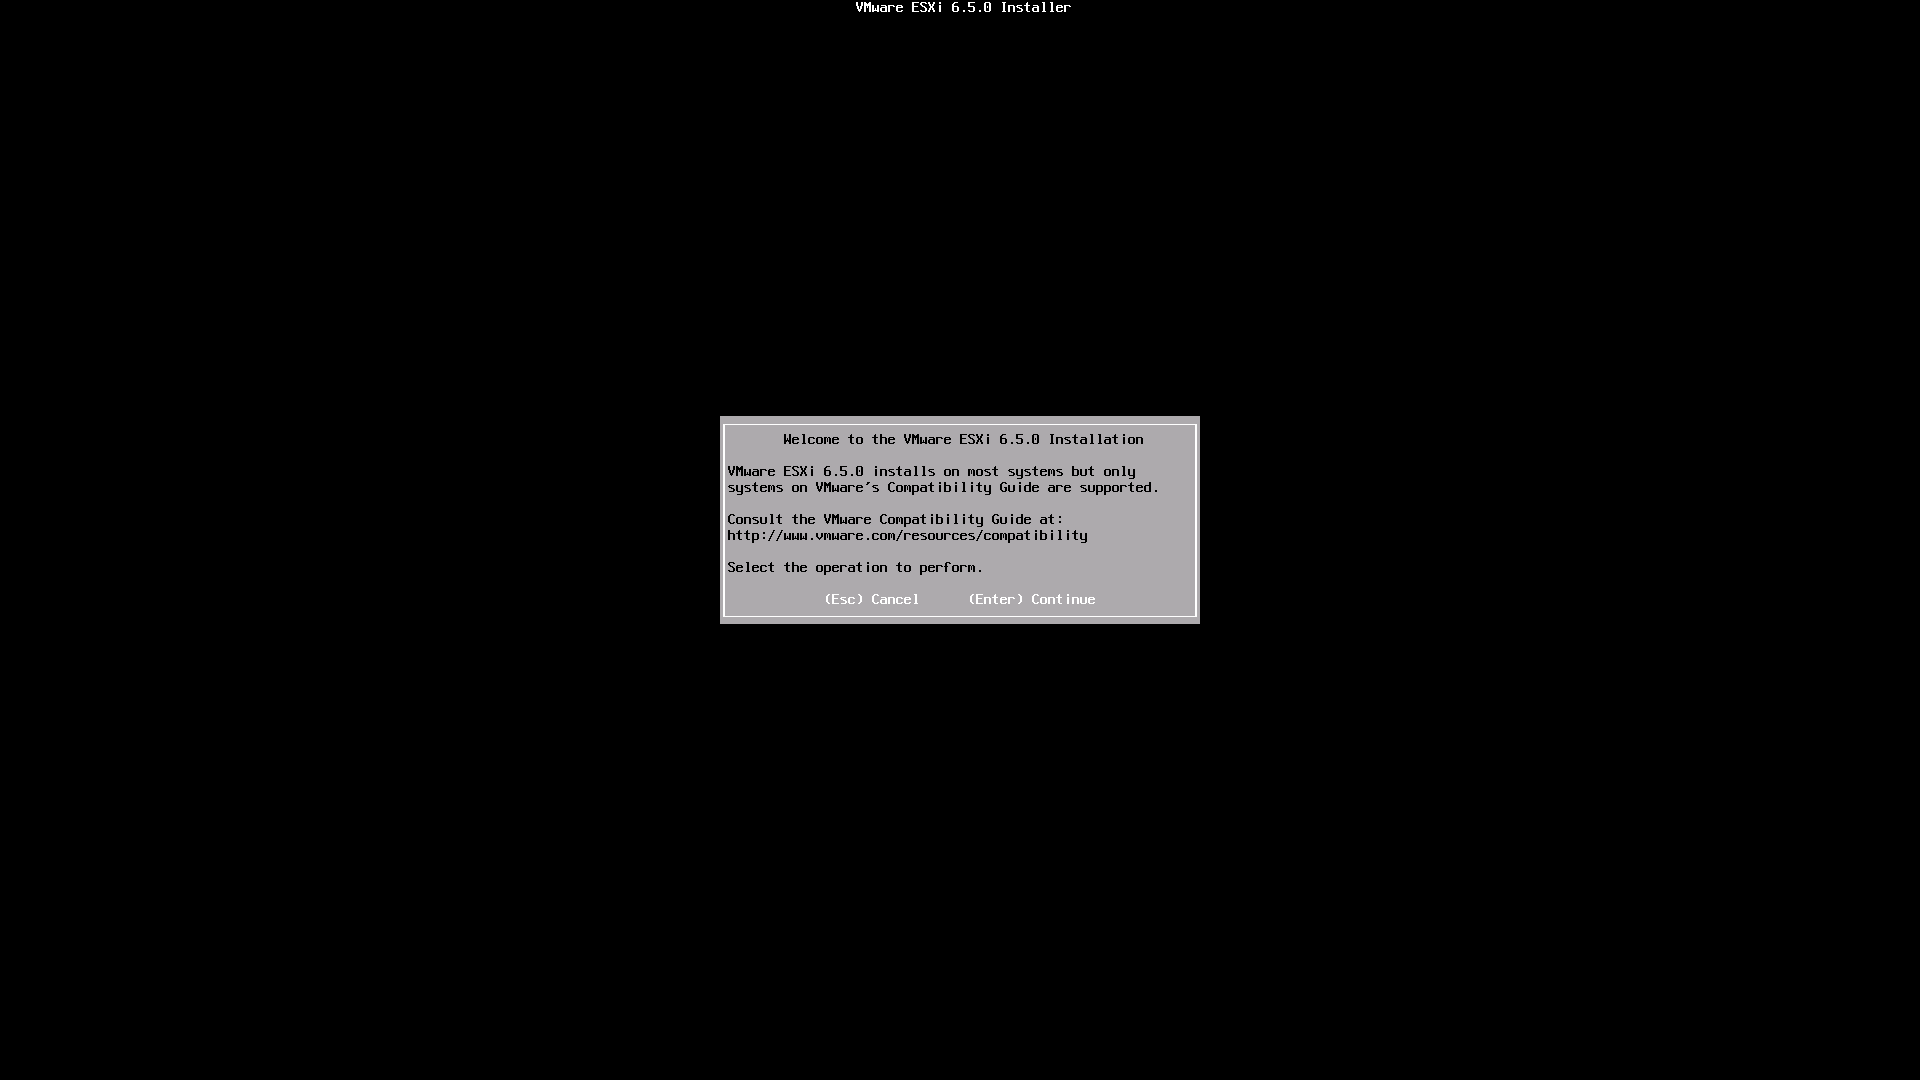
| − | # Once loaded press '''Enter''' to continue | + | # Once loaded press '''Enter''' to continue. |
#: [[File:Macpro_31_vmware_5.png]] | #: [[File:Macpro_31_vmware_5.png]] | ||
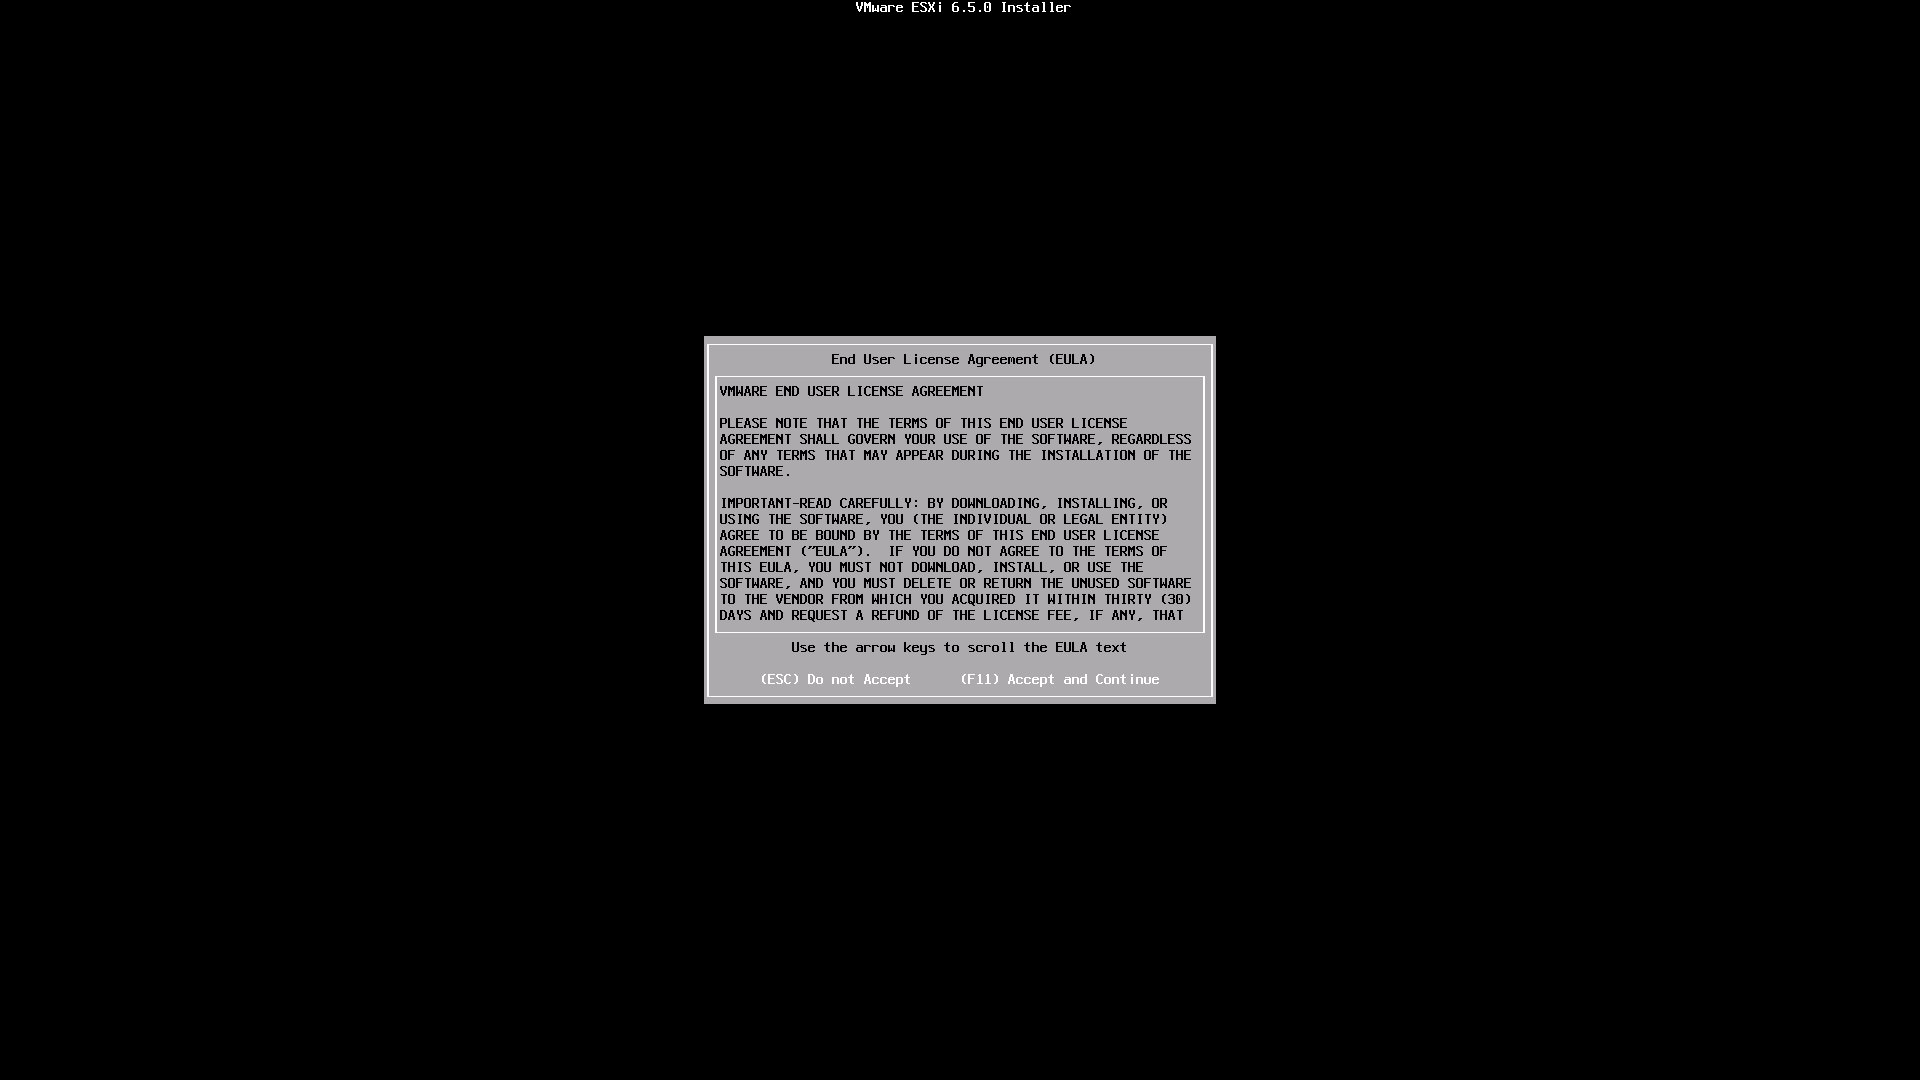
| − | # Press '''F11''' (volume down) to confirm you have read the EULA | + | # Press '''F11''' (volume down) to confirm you have read the EULA. |
#: [[File:Macpro_31_vmware_6.png]] | #: [[File:Macpro_31_vmware_6.png]] | ||
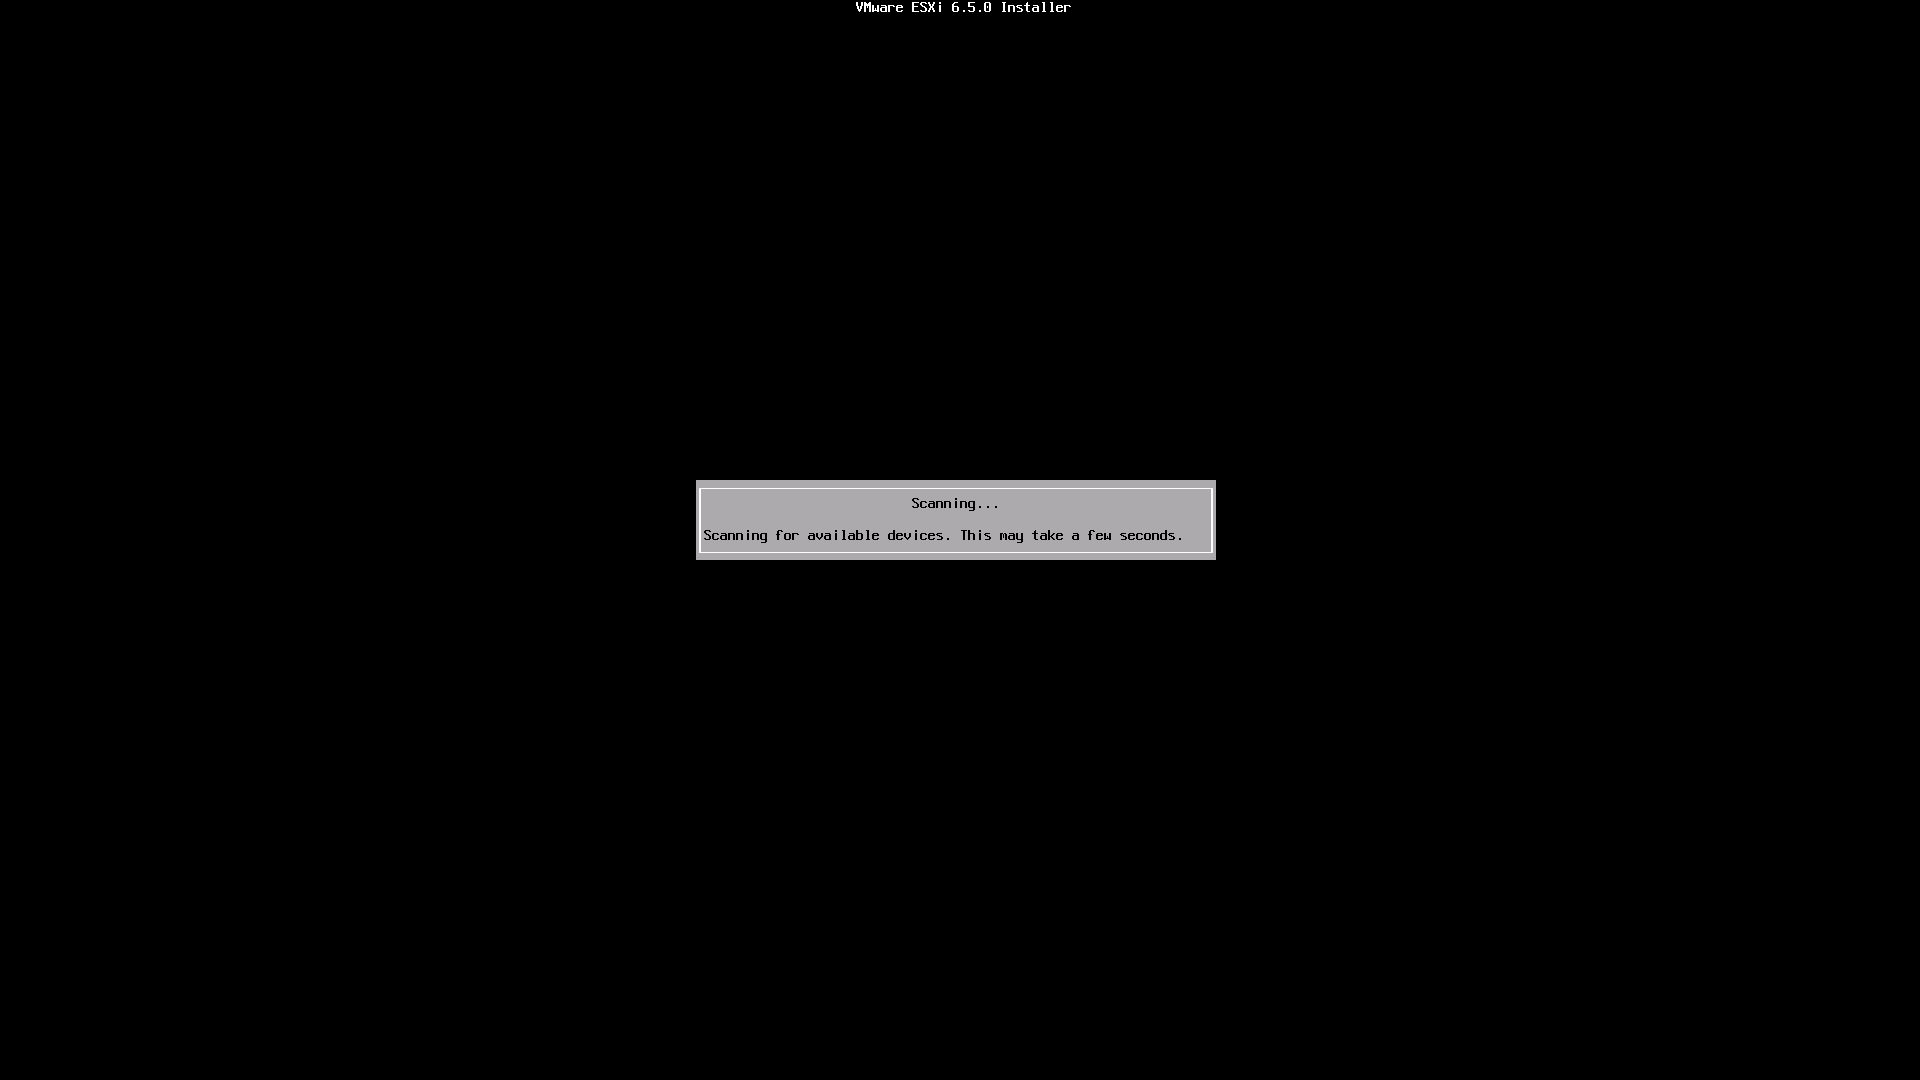
| − | # The installer will now scan for disks | + | # The installer will now scan for disks. |
#: [[File:Macpro_31_vmware_7.png]] | #: [[File:Macpro_31_vmware_7.png]] | ||
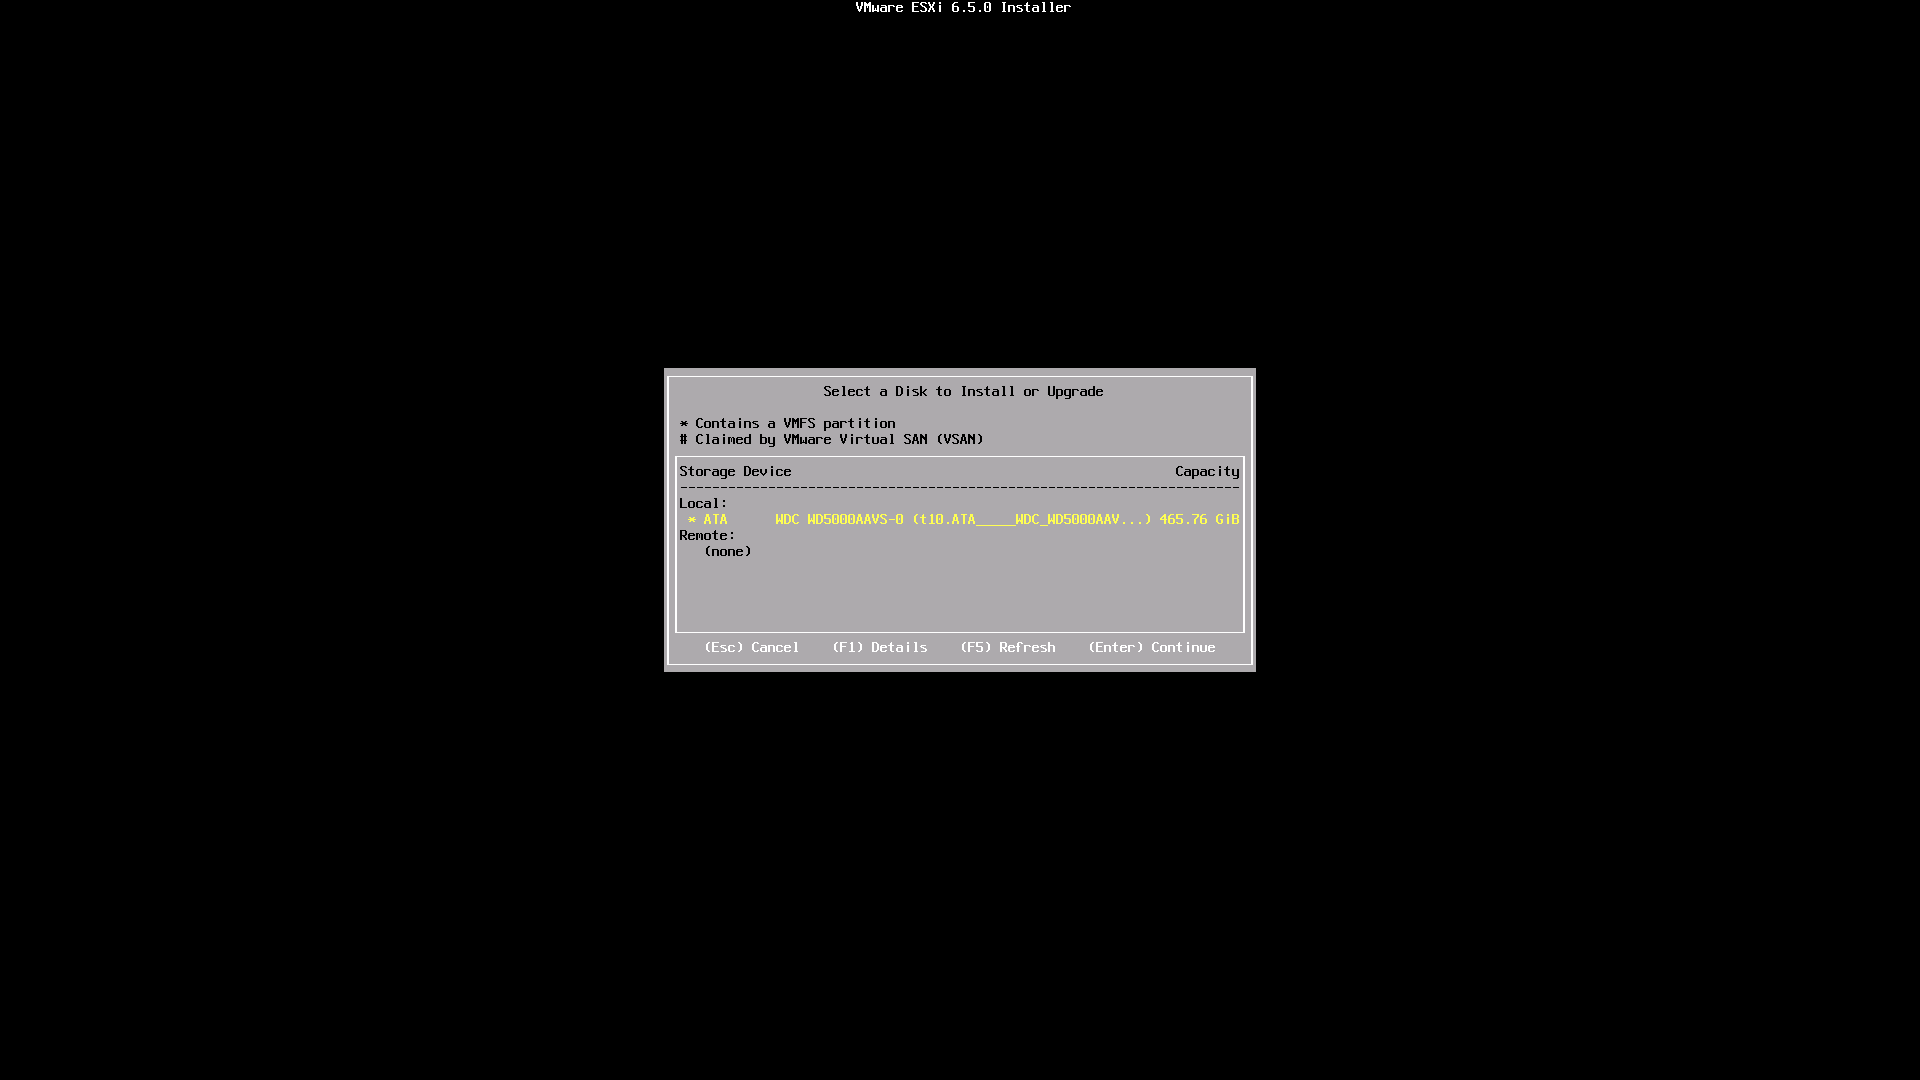
# Select the disk you would like to install to and press '''Enter''' | # Select the disk you would like to install to and press '''Enter''' | ||
#: [[File:Macpro_31_vmware_8.png]] | #: [[File:Macpro_31_vmware_8.png]] | ||
| + | #: Note: If the disk is not blank VMware ESXi may refuse to install. Boot macOS or a linux Live CD and use dd to overwrite the beginning of the disk. This process is not covered here. | ||
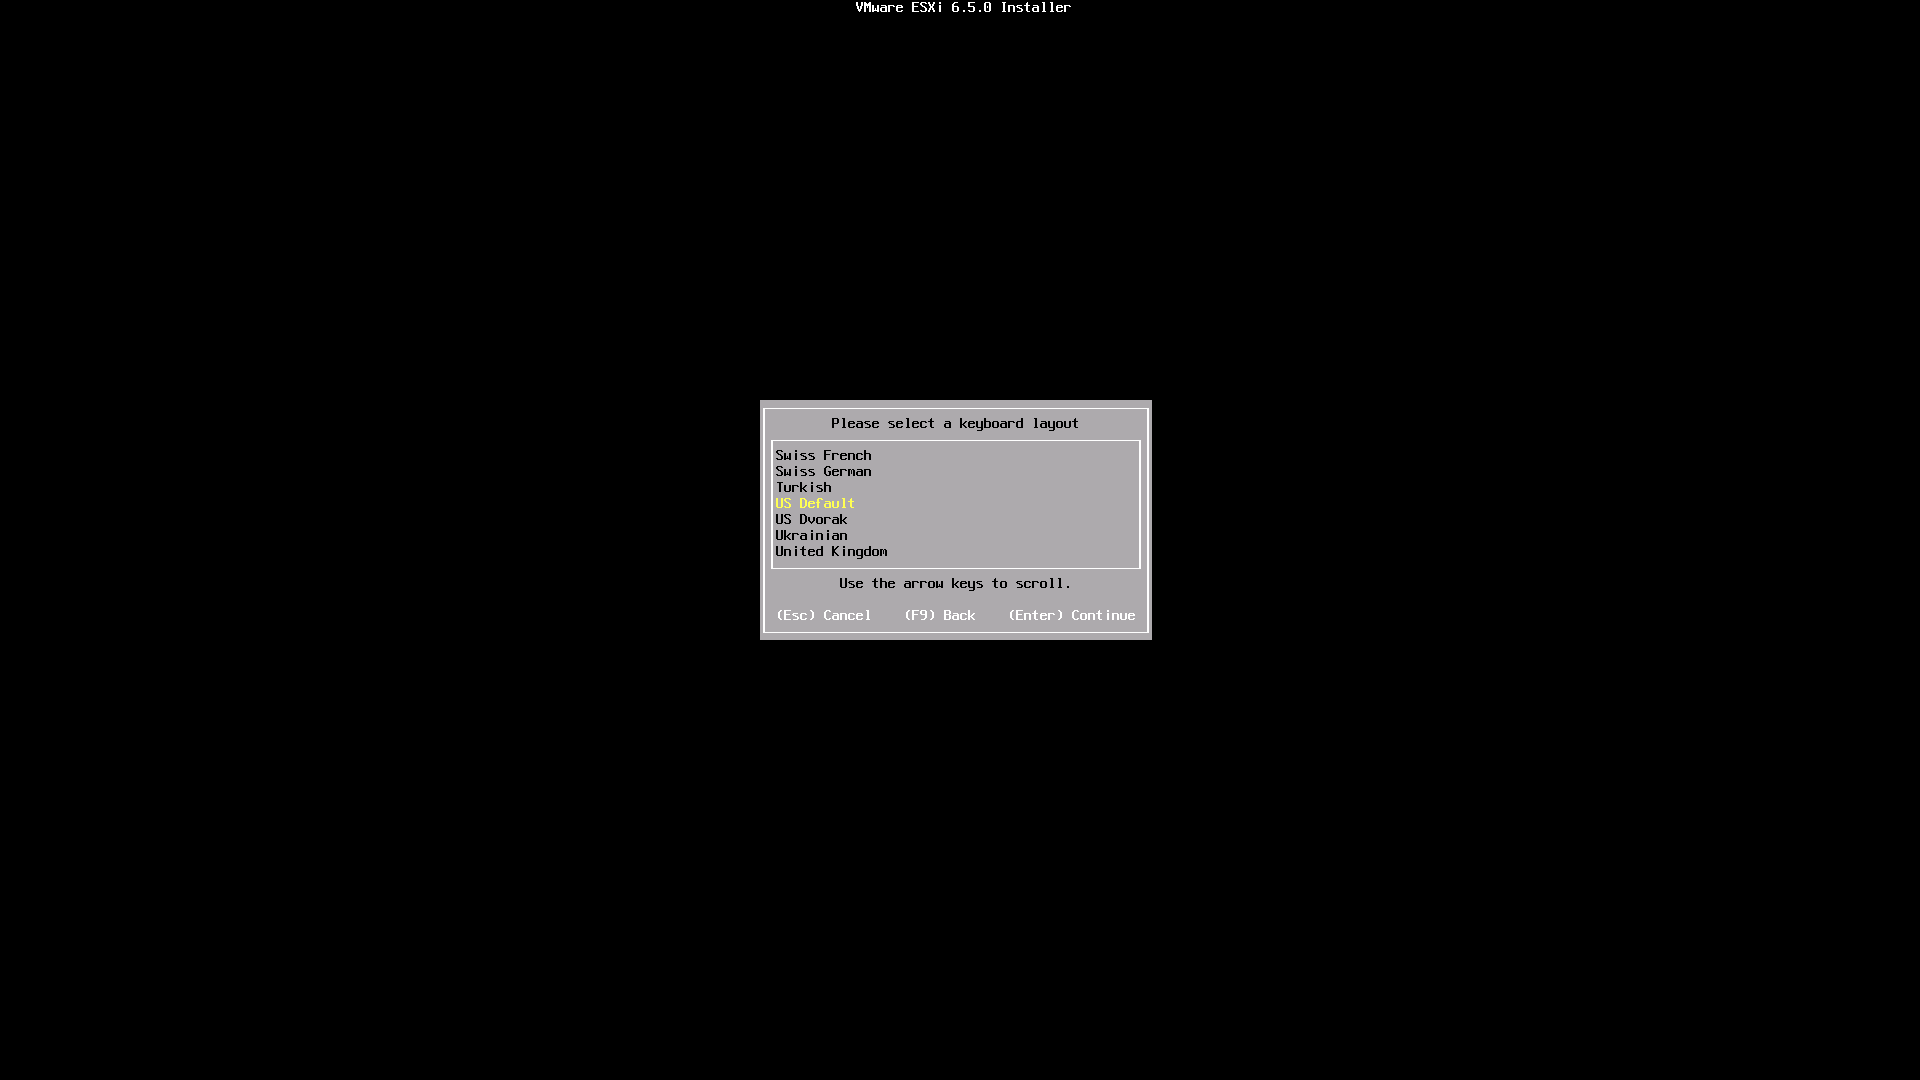
| + | # Choose your keyboard layout and press '''Enter''' | ||
| + | #: [[File:Macpro_31_vmware_9.png]] | ||
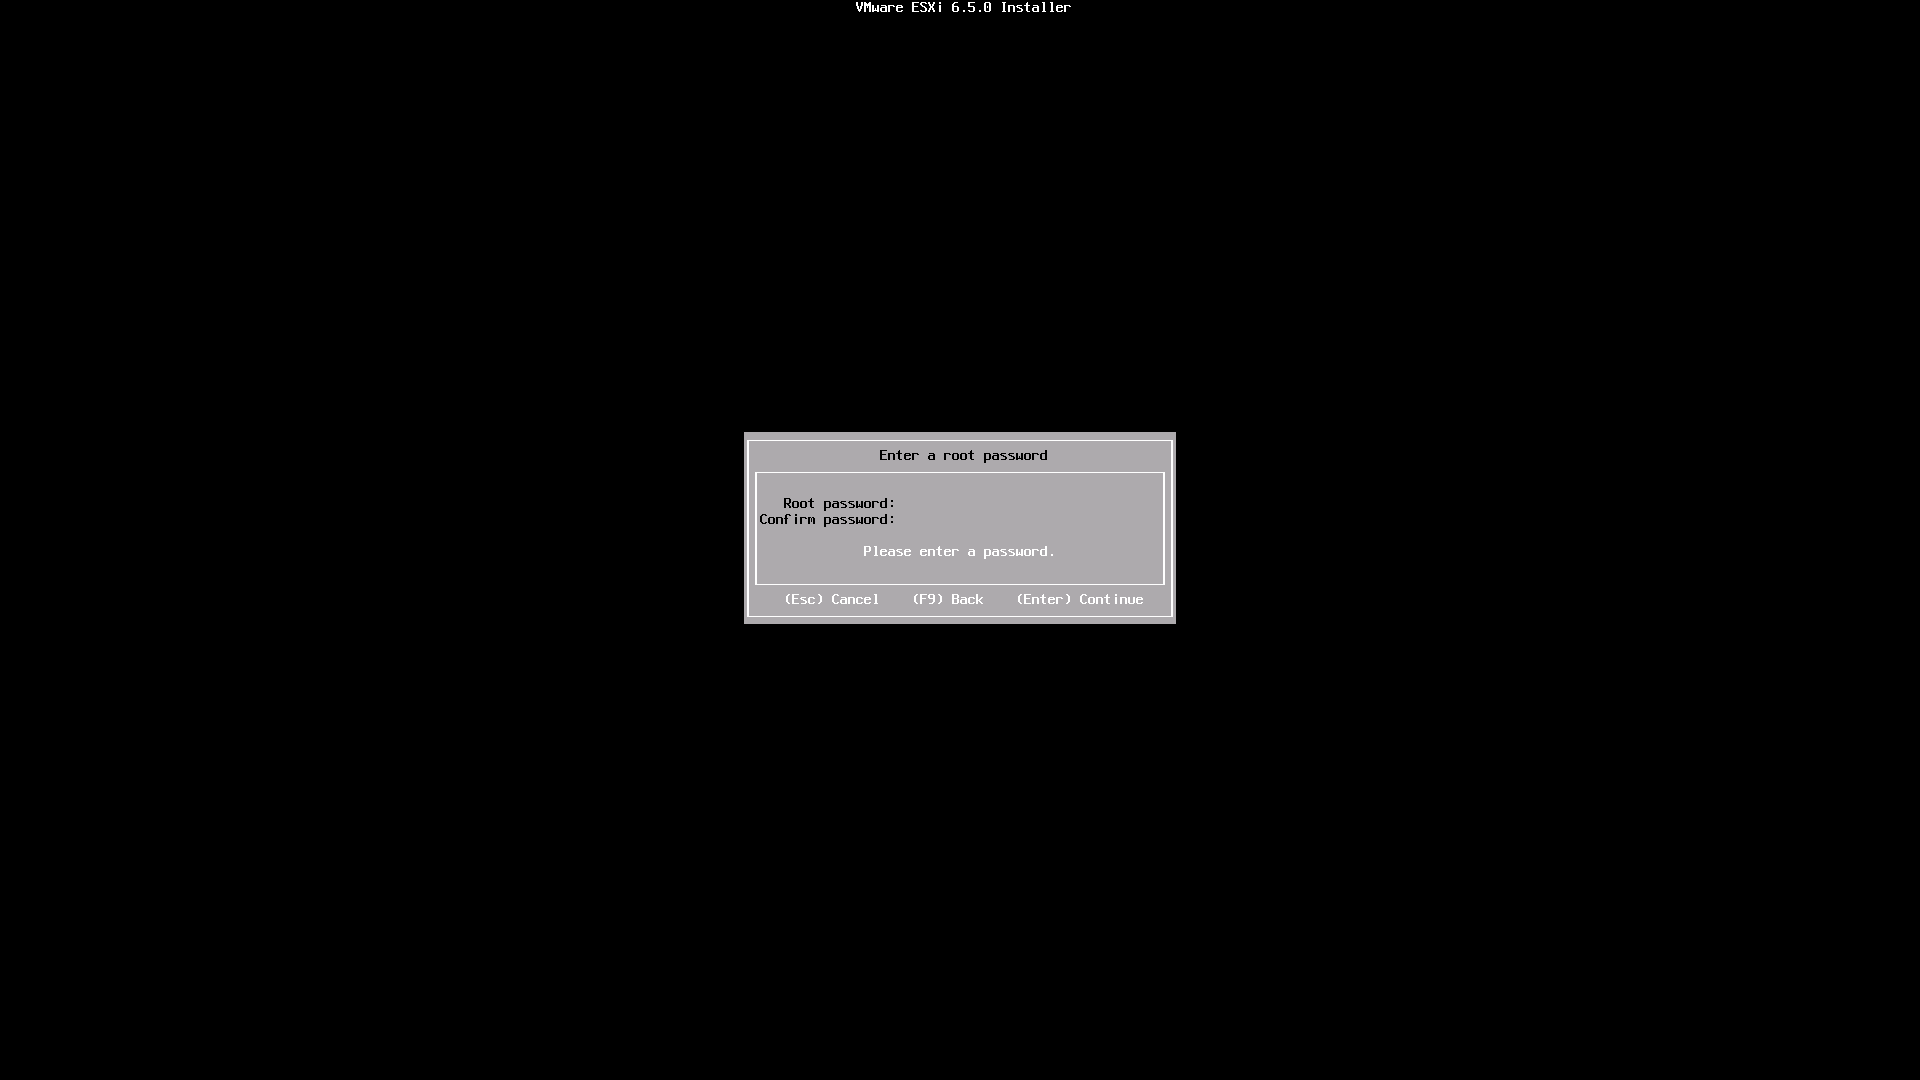
| + | # Enter a password to use for the '''root''' user account then press '''Enter''' to continue. | ||
| + | #: [[File:Macpro_31_vmware_10.png]] | ||
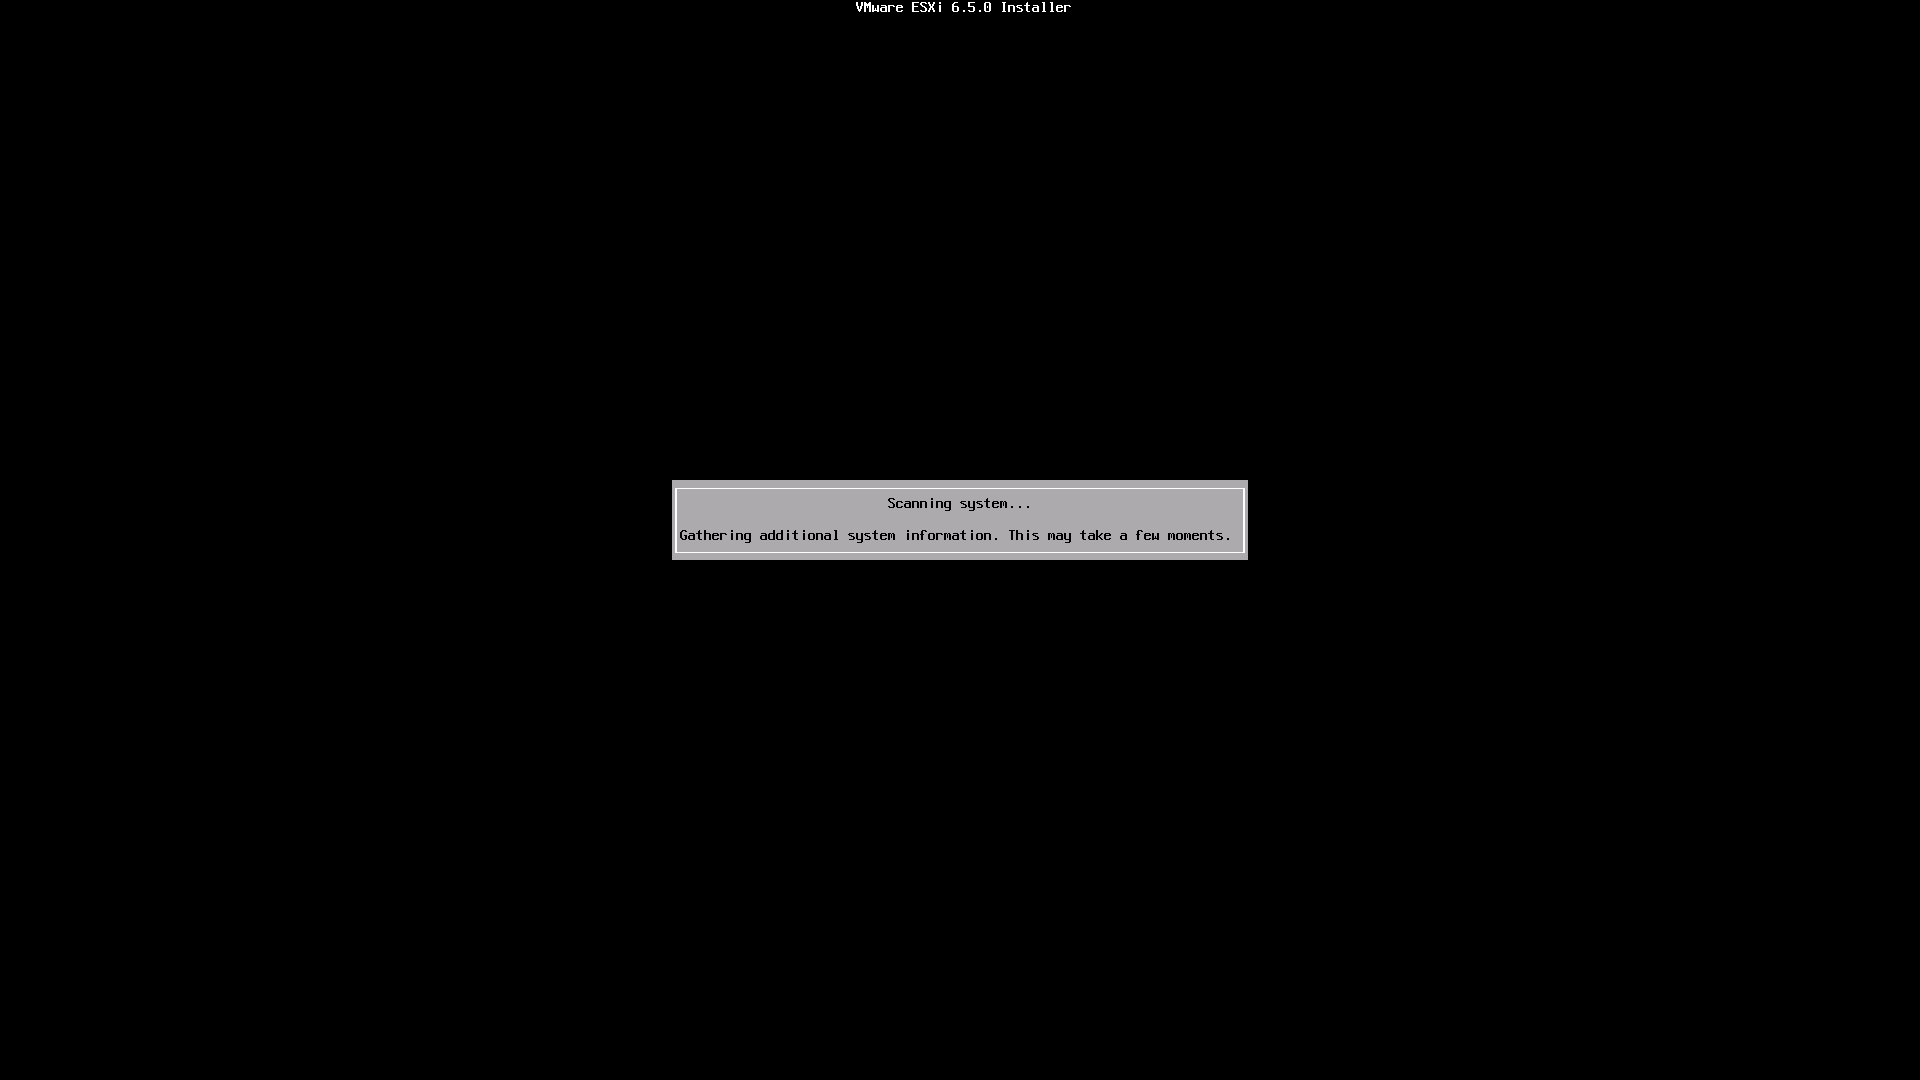
| + | # The installer will do another hardware check. | ||
| + | #: [[File:Macpro_31_vmware_11.png]] | ||
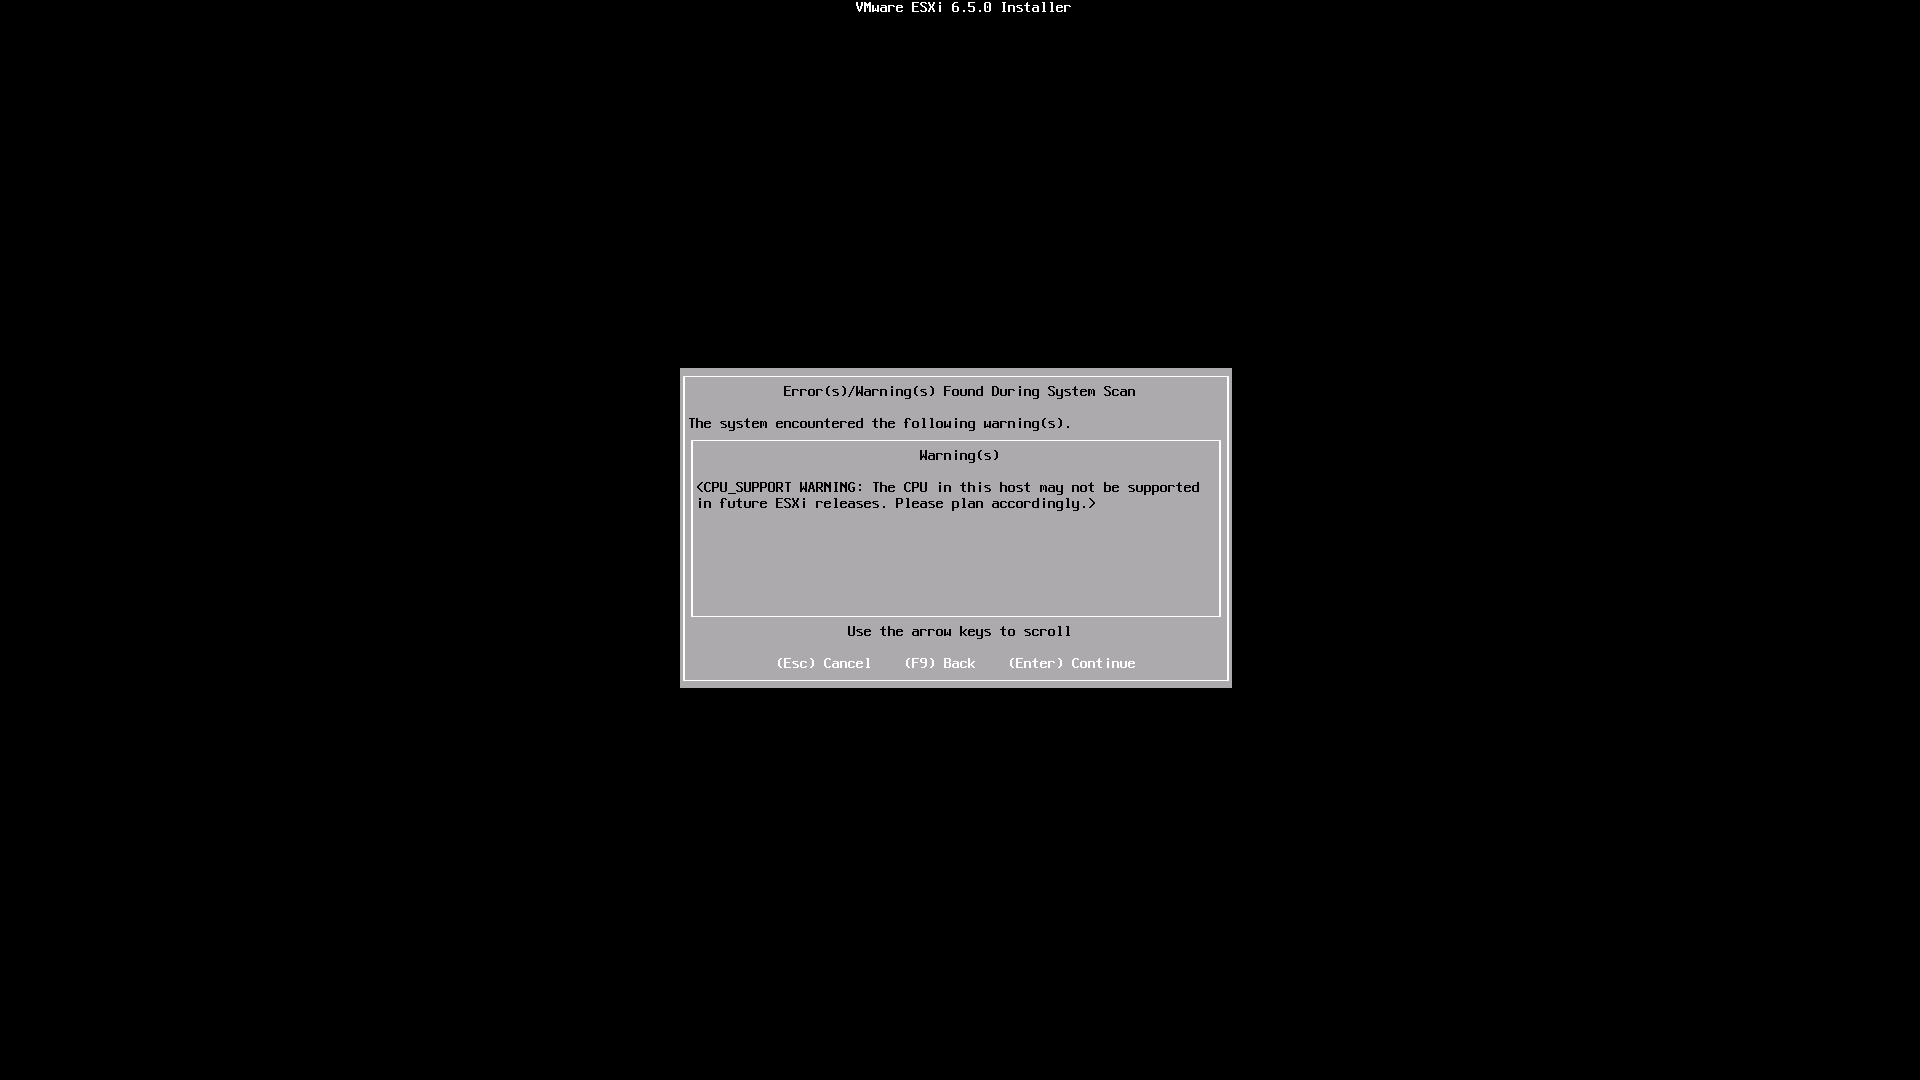
| + | # You will receive a warning that the CPU "may" be unsupported in future ESXi releases. This is the last release that will work. Press '''Enter''' to continue. | ||
| + | #: [[File:Macpro_31_vmware_12.png]] | ||
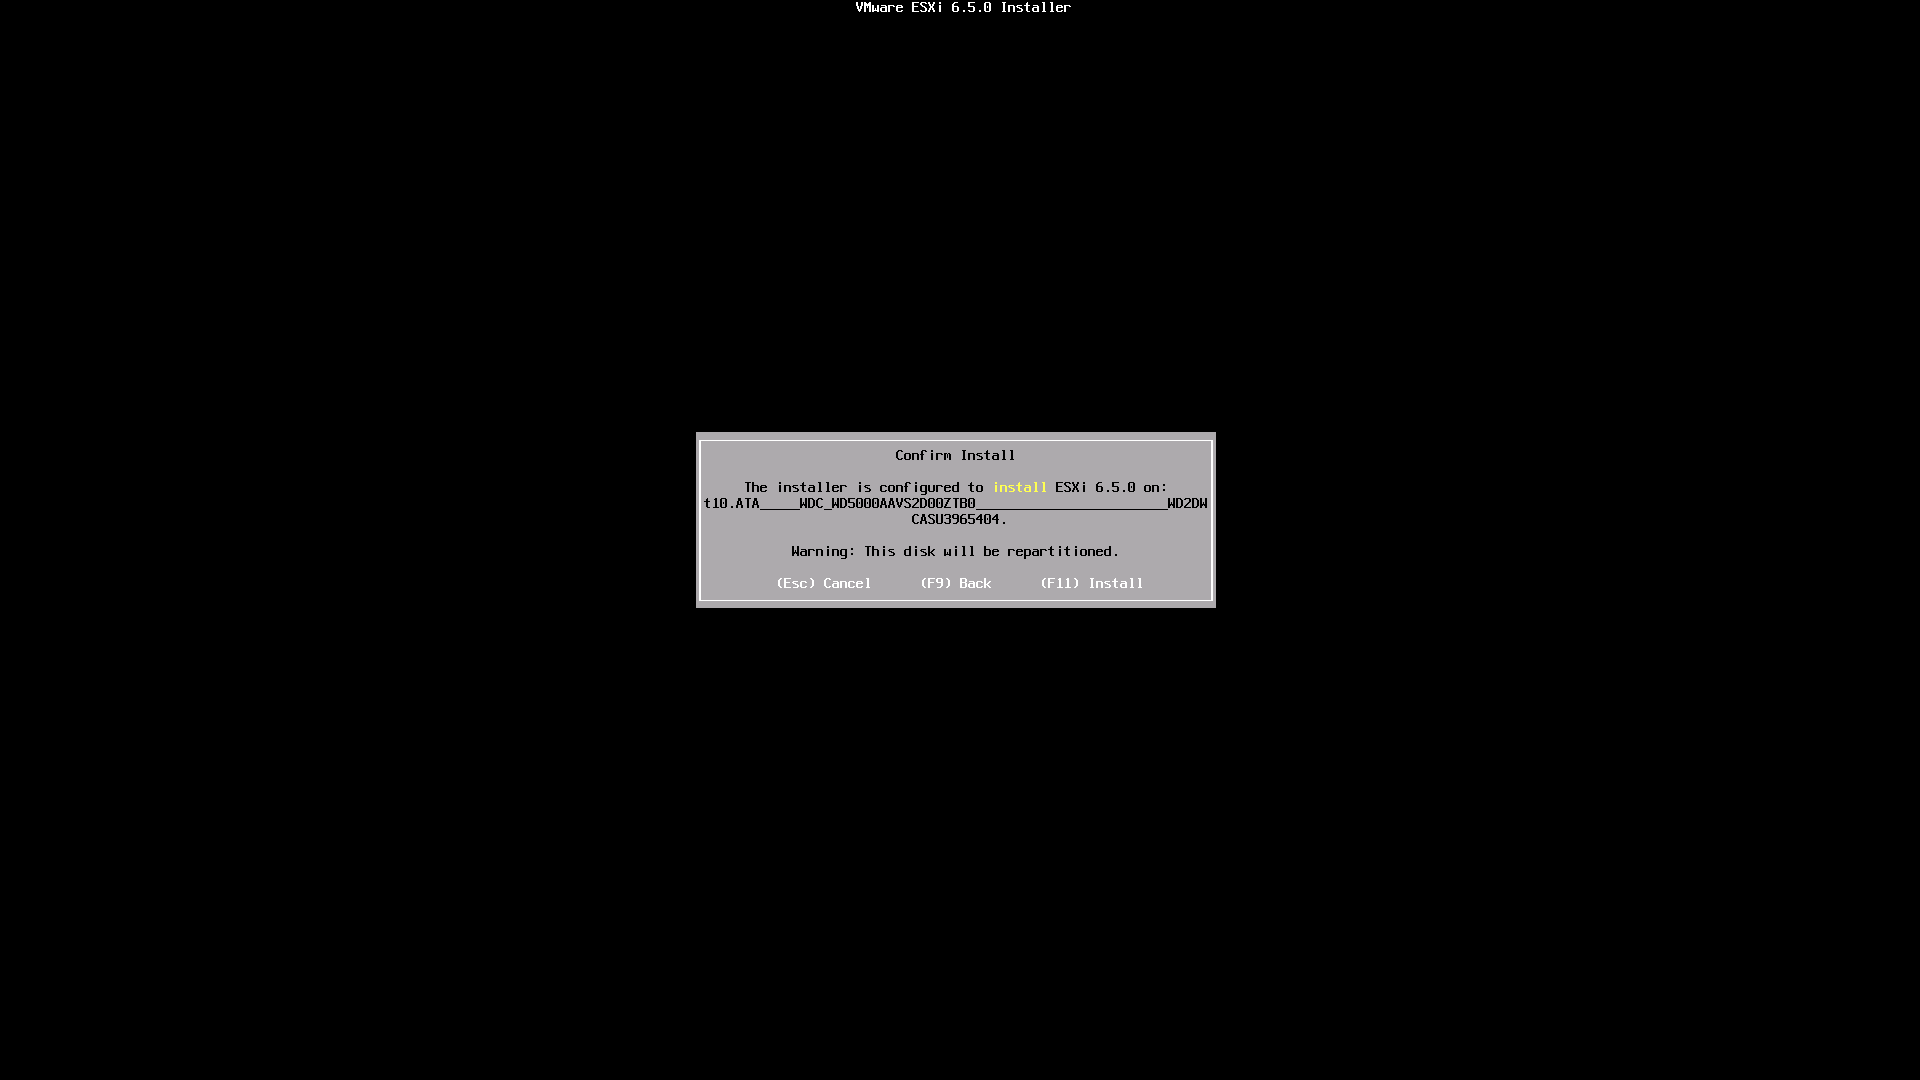
| + | # Press '''F11''' to confirm you want to install. | ||
| + | #: [[File:Macpro_31_vmware_13.png]] | ||
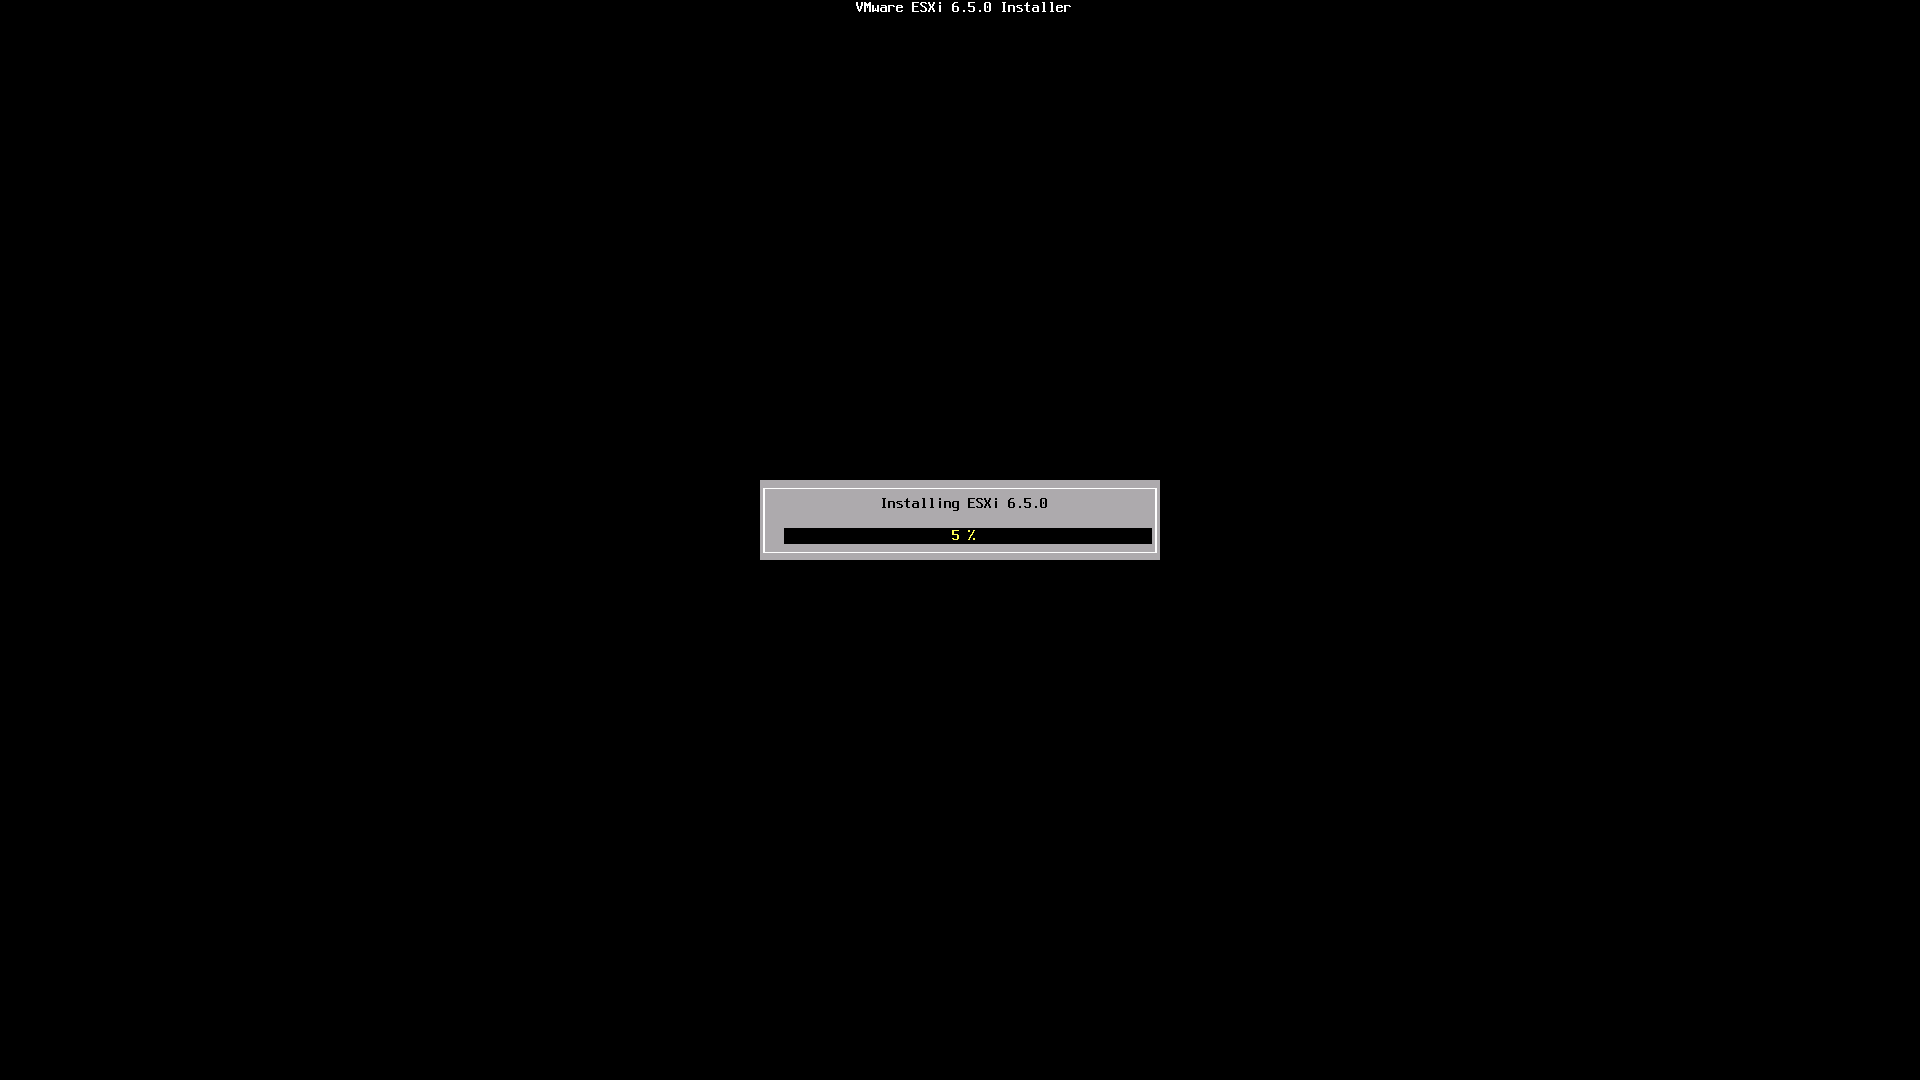
| + | # ESXi 6.5.0 will now be installed. | ||
| + | #: [[File:Macpro_31_vmware_14.png]] | ||
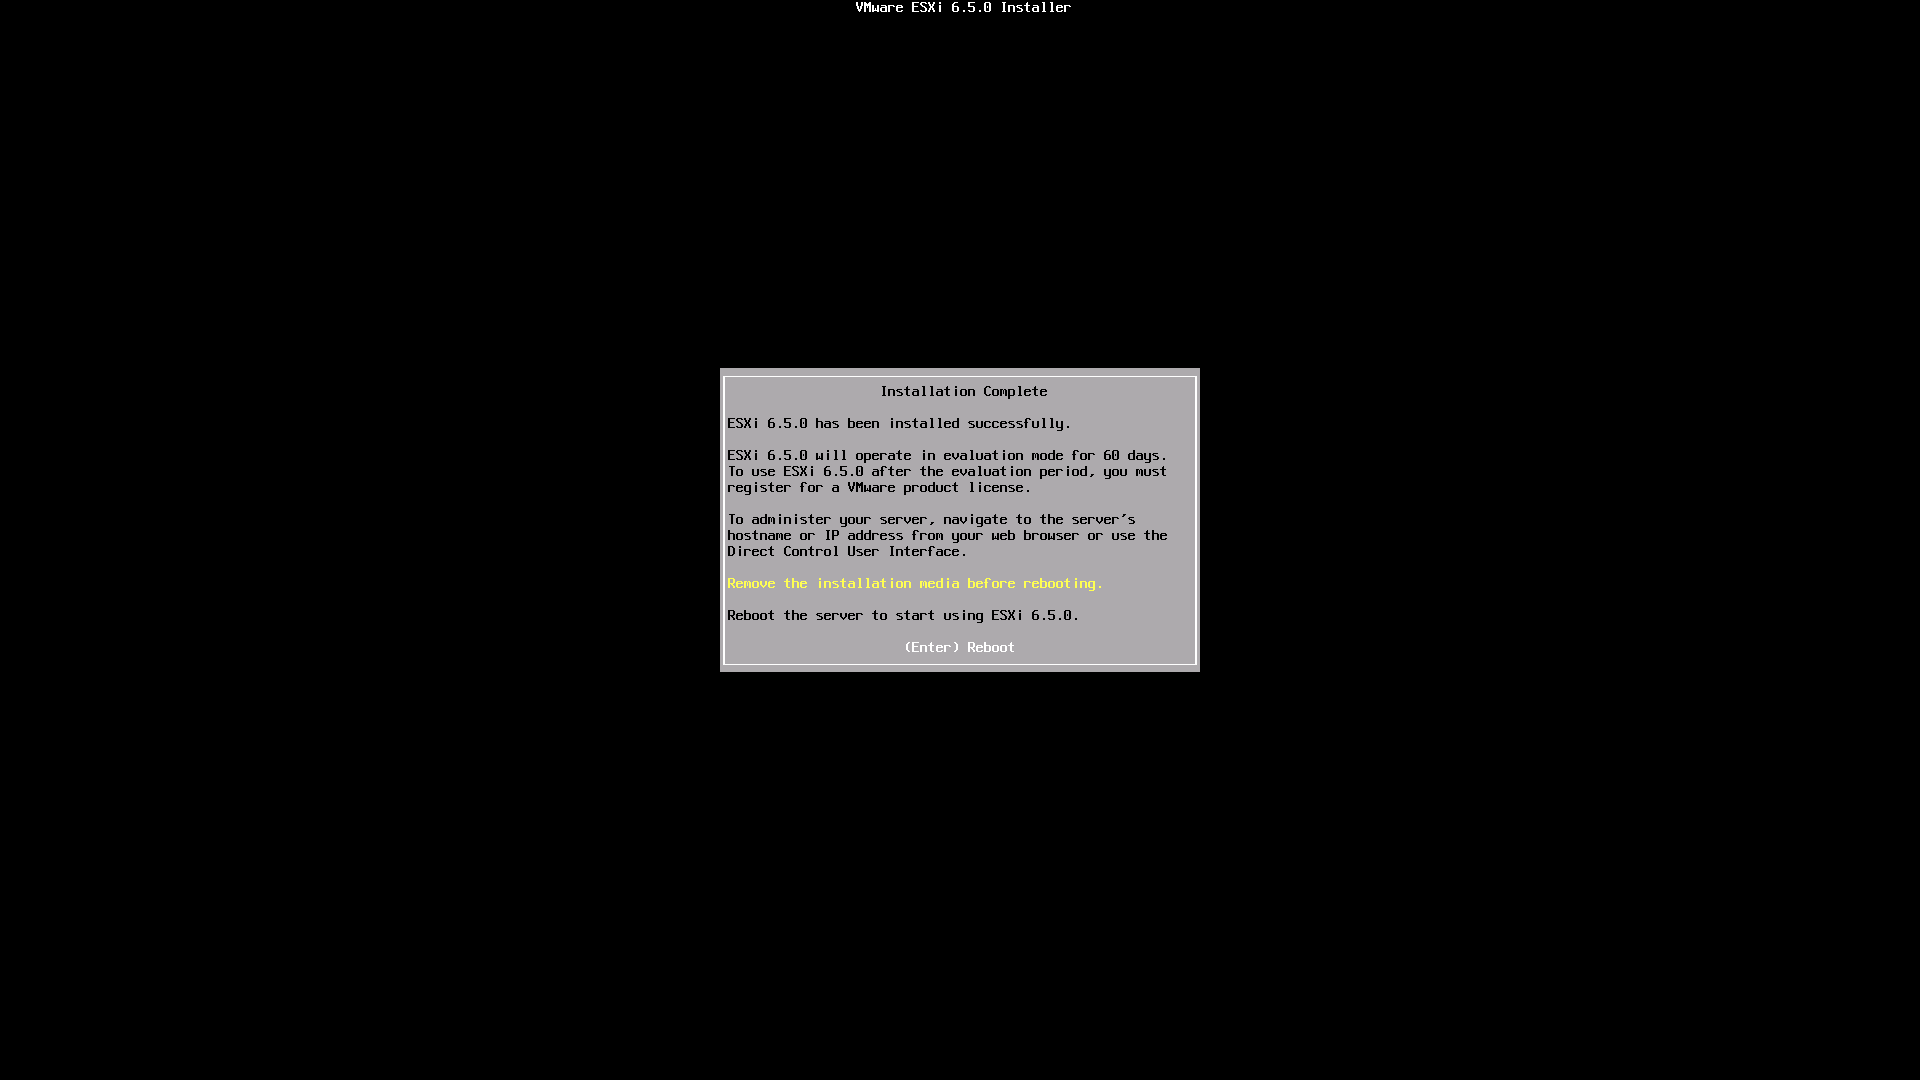
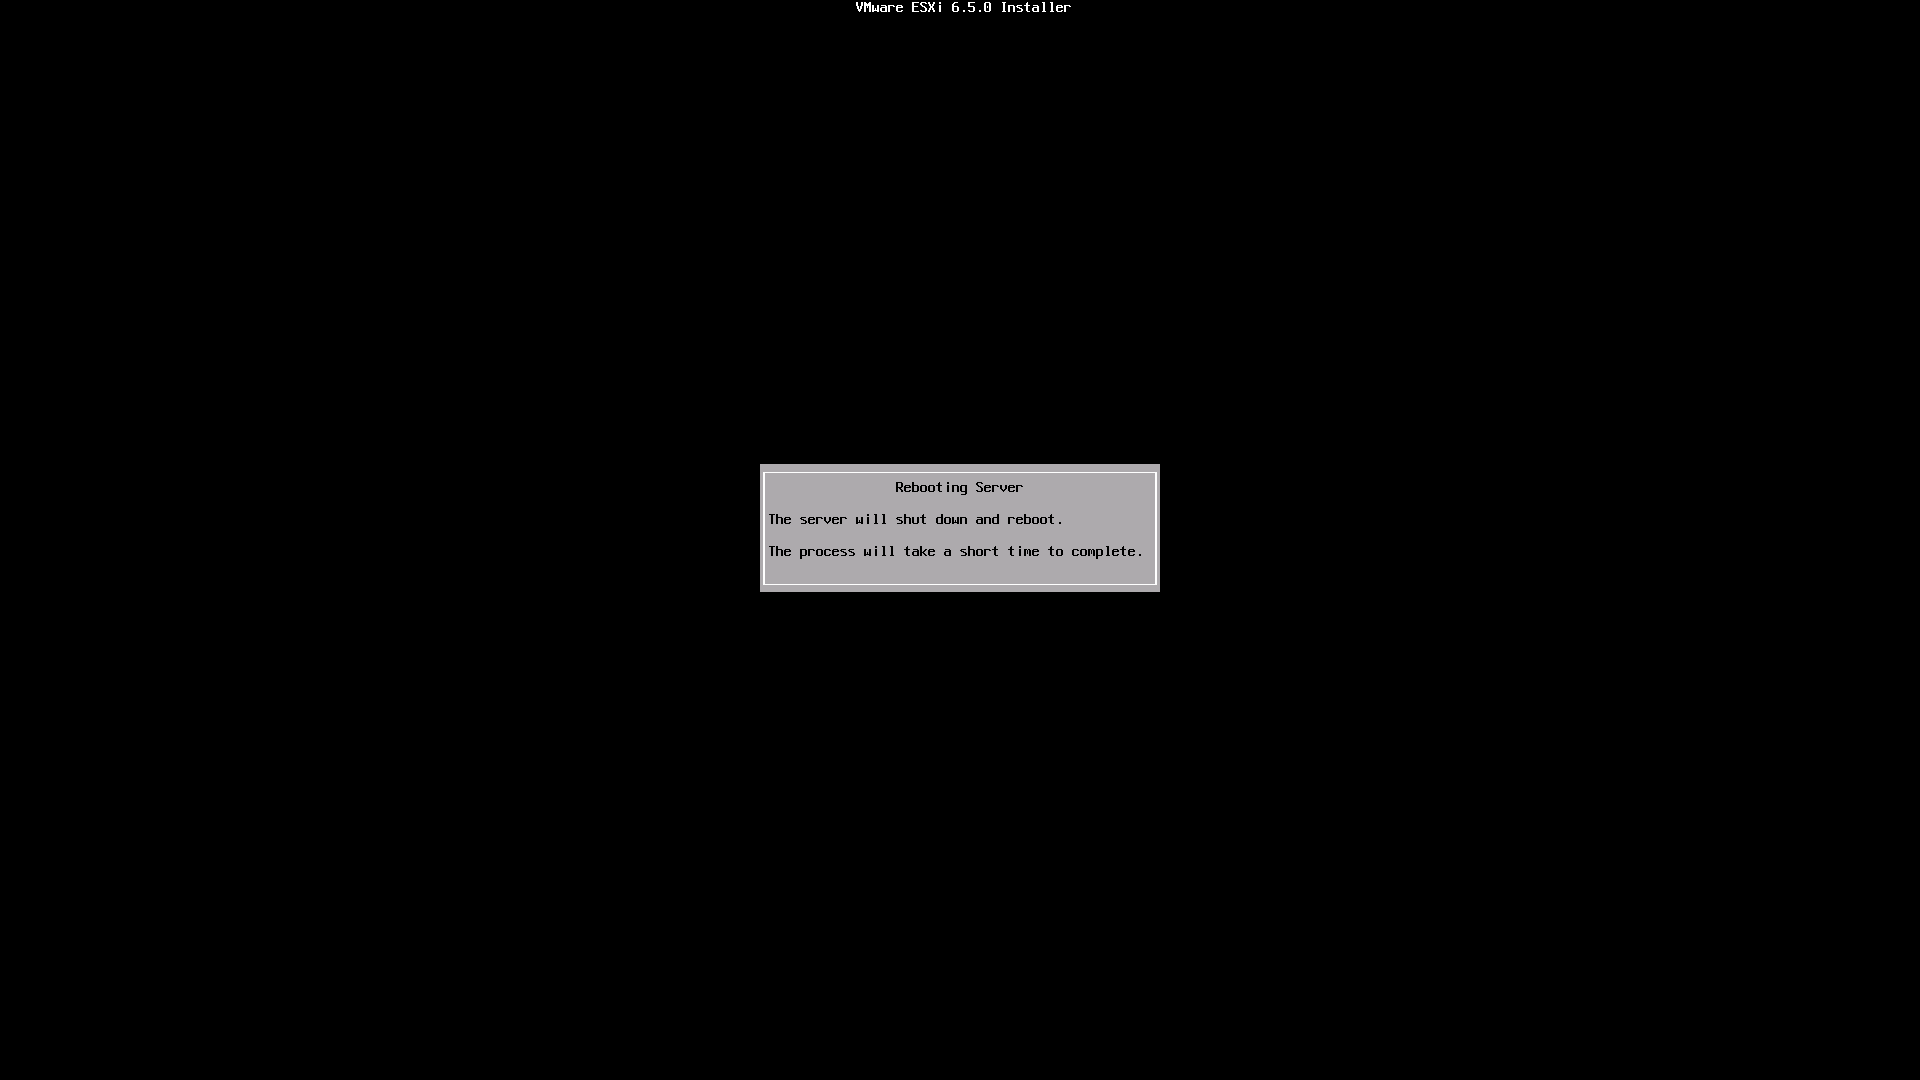
| + | # When installation is complete remove the CD/DVD/Usb stick and press '''Enter''' to reboot. | ||
| + | #: [[File:Macpro_31_vmware_15.png]] | ||
| + | #: [[File:Macpro_31_vmware_16.png]] | ||
| + | # After rebooting VMware ESXi will automatically start. | ||
| + | #: [[File:Macpro_31_vmware_17.png]] | ||
| + | #: [[File:Macpro_31_vmware_18.png]] | ||
Revision as of 00:50, 21 May 2021
Installing VMware ESXi on Apple hardware can be tricky, especially on older hardware. This page describes how to get a modern (ish) version of ESXi to work correctly on a Mac Pro 3,1 (early 2008).
To start you will need a free VMware account and access to https://my.vmware.com/
Downloading ESXi
- Go to https://my.vmware.com/web/vmware/details?downloadGroup=ESXI650&productId=614 and log in if required
- Select "6.5.0" in the Select Version dropdown
- Next to "VMware vSphere Hypervisor (ESXi ISO) image (Includes VMware Tools)" click Download Now
- You will now have the file "VMware-VMvisor-Installer-6.5.0-4564106.x86_64.iso" (sha1 4b71e69c606a54ae1c4b34341e341f1f6786d7b2)
- Burn the ISO image to a CD or DVD disc, or use a tool like rufus or Etcher to create a bootable USB stick.
Installing ESXi
- Power on your Mac Pro and hold Option until the boot device selection appears.
- Insert the CD/DVD/USB stick for ESXi.
- Select EFI Boot on the right using the arrow keys or mouse and press return
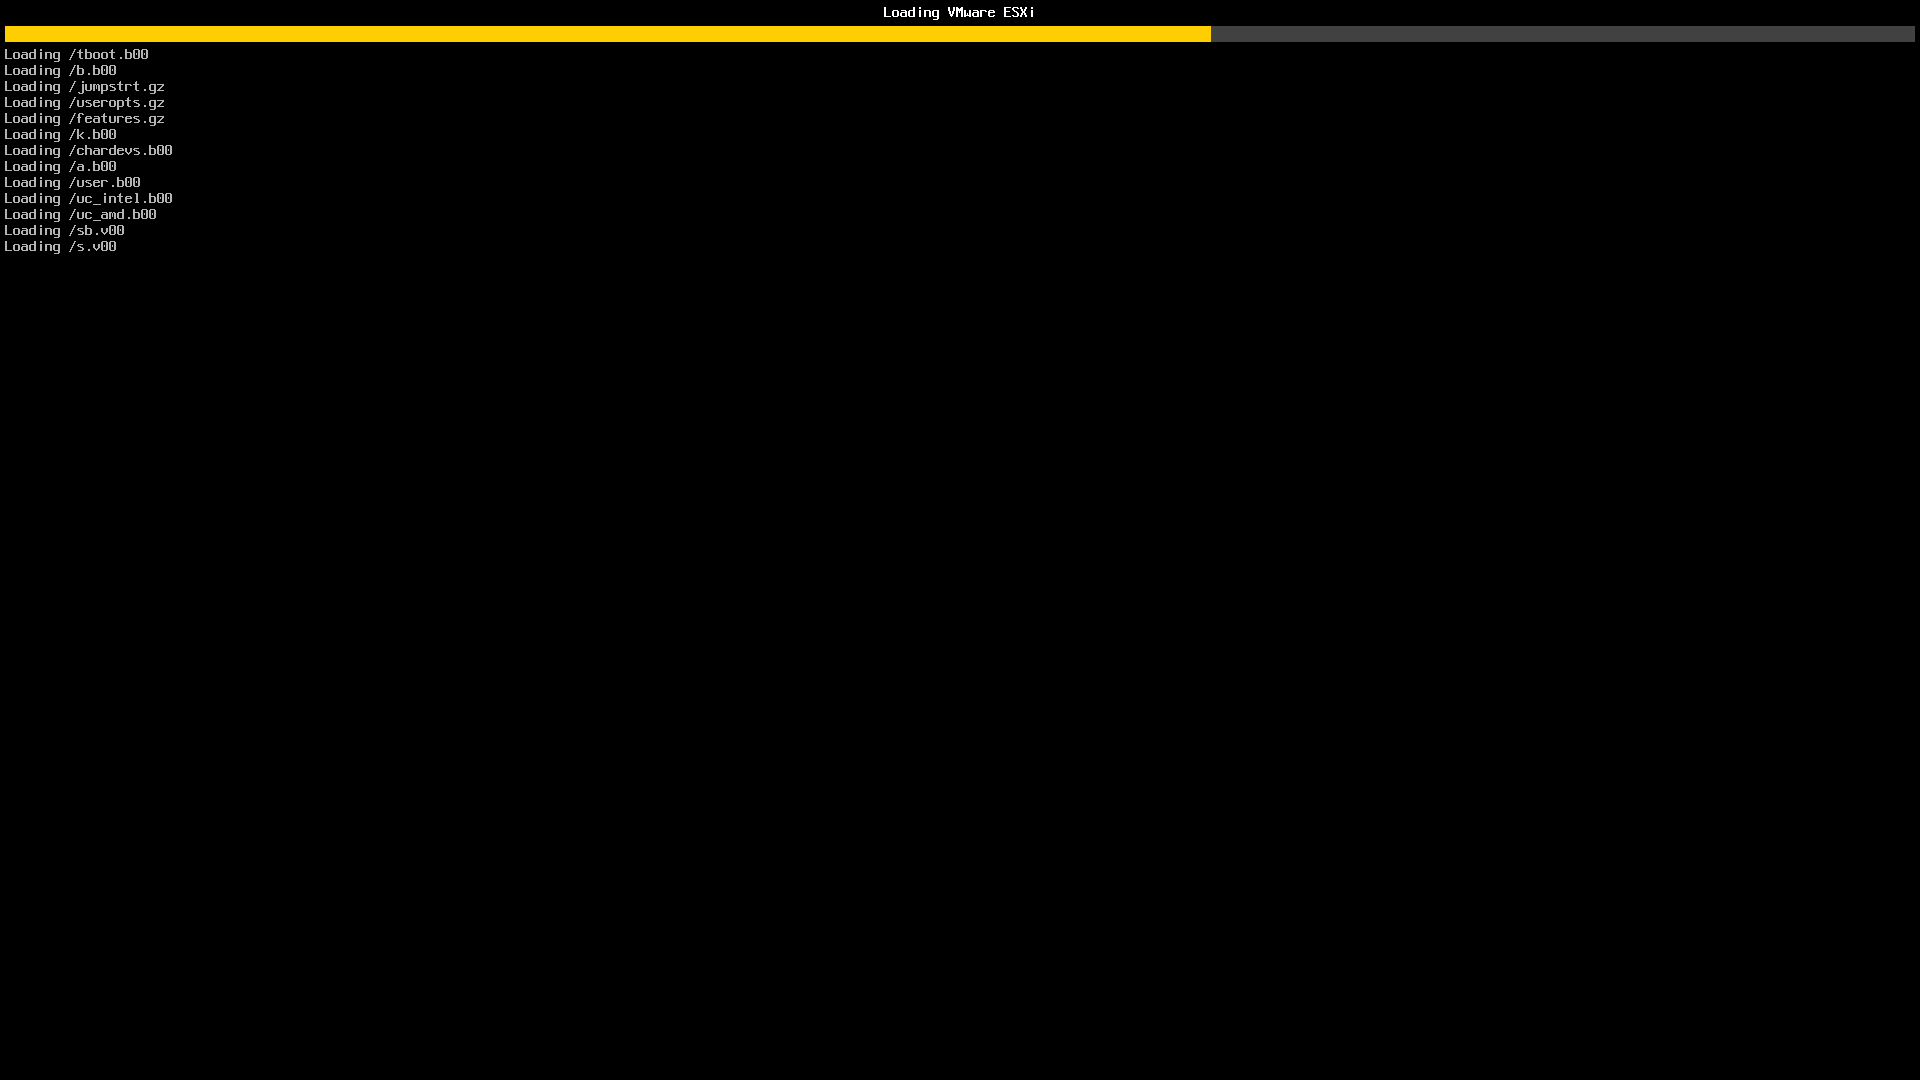
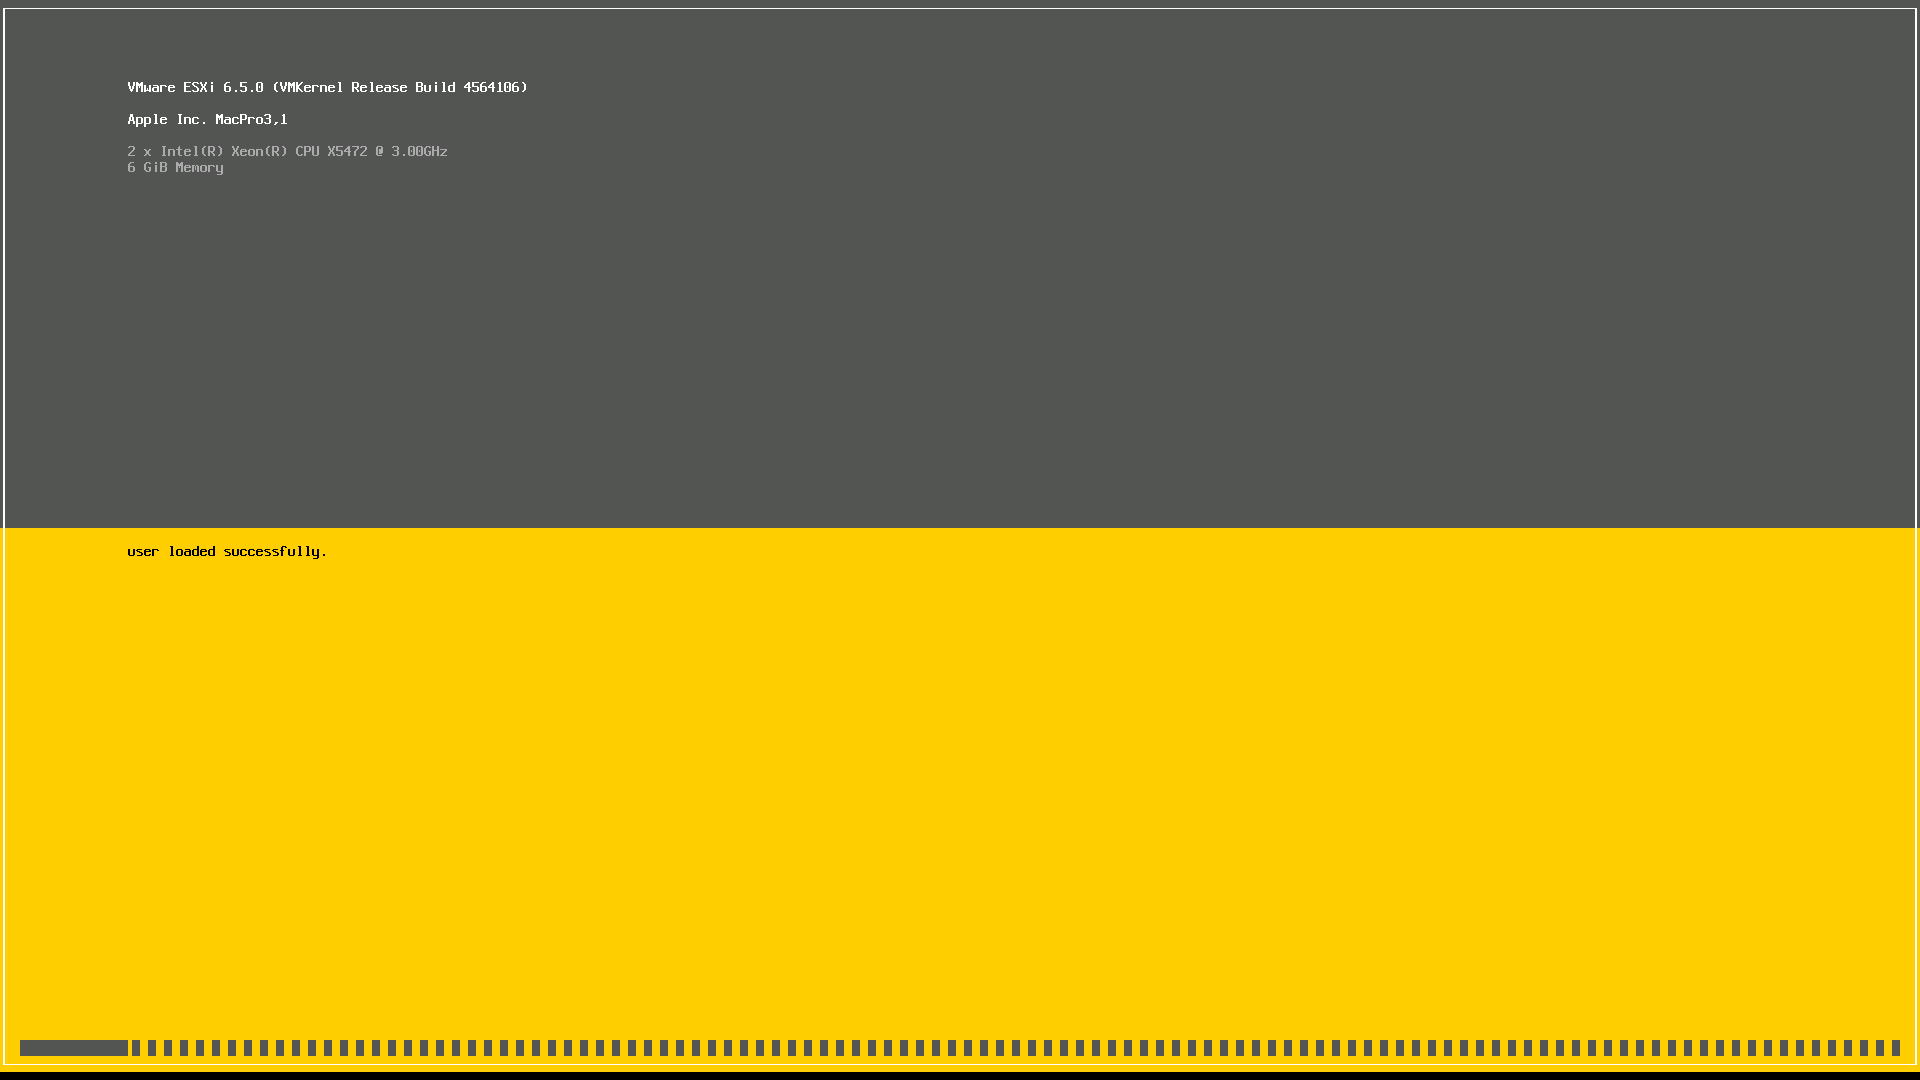
- The ESXI Installer will now start.
- The installer will take 5-10 minutes to fully load.
- Once loaded press Enter to continue.
- Press F11 (volume down) to confirm you have read the EULA.
- The installer will now scan for disks.
- Select the disk you would like to install to and press Enter
- Choose your keyboard layout and press Enter
- Enter a password to use for the root user account then press Enter to continue.
- The installer will do another hardware check.
- You will receive a warning that the CPU "may" be unsupported in future ESXi releases. This is the last release that will work. Press Enter to continue.
- Press F11 to confirm you want to install.
- ESXi 6.5.0 will now be installed.
- When installation is complete remove the CD/DVD/Usb stick and press Enter to reboot.
- After rebooting VMware ESXi will automatically start.
